AlarmMdevice manual

1. AlarmMdevice Purpose

1.1. Description
The Alarm Messaging application purpose is to send an alarm provided by the phone android system when an external device is changing of state. This application is connecting to existing residentials alarm device system and gathering them on the same interface. It works on android platform from Gingerbread (API 10 version 2.3.3) and above. The application is monotoring the device input and output (refered as IO). A simple graphic interface is used to program action whenever an IO state has changed. See section 9 for a list of action performed by the smartphone. IP communicatation is done through whatever internet connection of the smartphone. It's important to note that traffic data is important during monitoring, so better use wifi. It will work on any wifi at home and abroad. At home it will work on the local network and do not need to connect to external IP adress except for the registration.
1.2. Features
- Automatic sending SMS, Email, dialing phone call when an alarm is triggered.
- Trigger automatically output of any connected board.
- Loggings are written inside the native Messaging application.
- Take picture from any IP camera or from phone device itself.
- Send email with attached photo with any POP account such as Gmail.
- Send SMS or call to a designed contact from the native Contact application.
- Alarm activation can synchronize with Event of the native Calendar application.
- Administrator of the Alarm may be chosen from the native Contact application.
- Administrator can switch ON/OFF the alarm remotly with landline call or sms.
- Each alarm can have a different recipient chosen from the native Contact application.
- Acquired pictures are store inside the native Gallery application.
- Run in background and wake up the phone when an alarm is detected
1.3. Permissions

Permission are only required when nescessary. The video below show when and where the specific permission are required. This video illustrate as well the core functionalities of the application.
This application has phone handler capabilities.
Switching to phone handler capabilities is only requested when nescessary
and they will be removed when the service is stopped. Permissions can be removed at any time in the settings of the phone devices.
The SMS app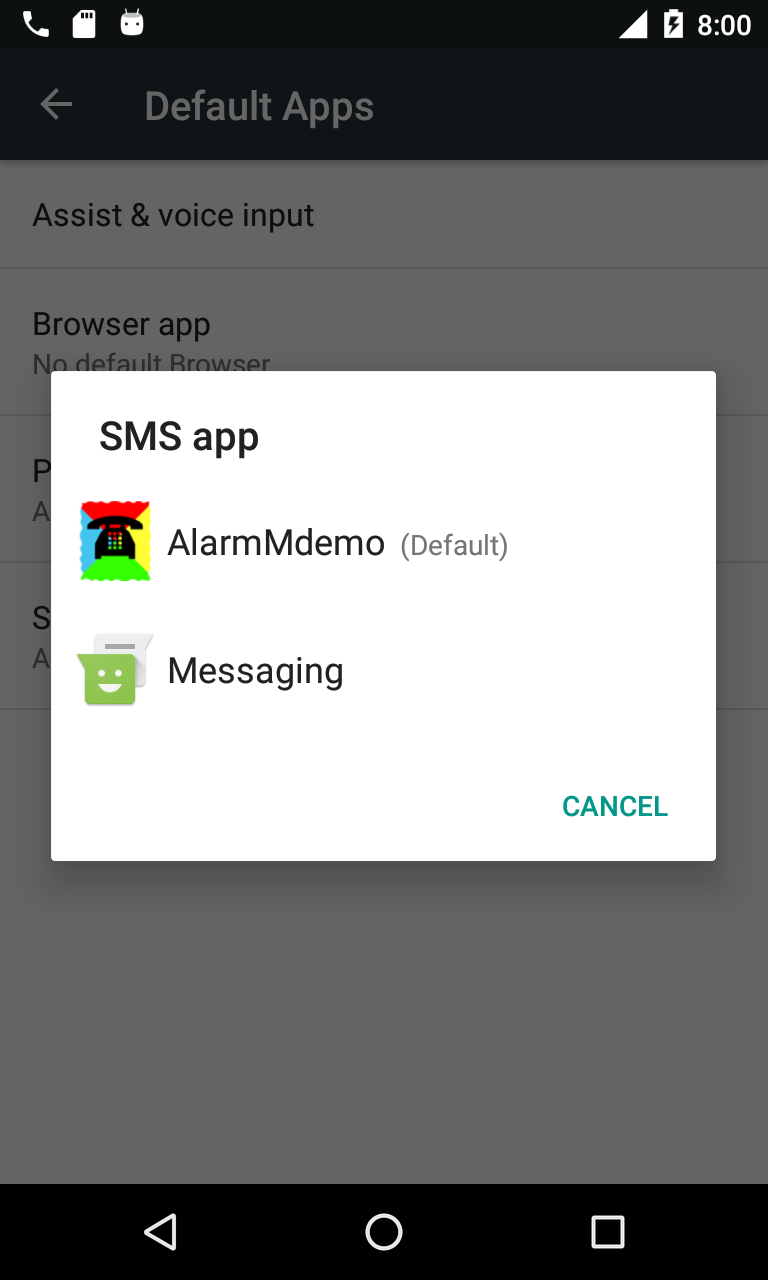 capability is used for enabling logging (see section 9.1.1 Logging ) of message in the default android messaging application.
It is only required for android version bigger or equal to Kitkat (API 19).
The Phone app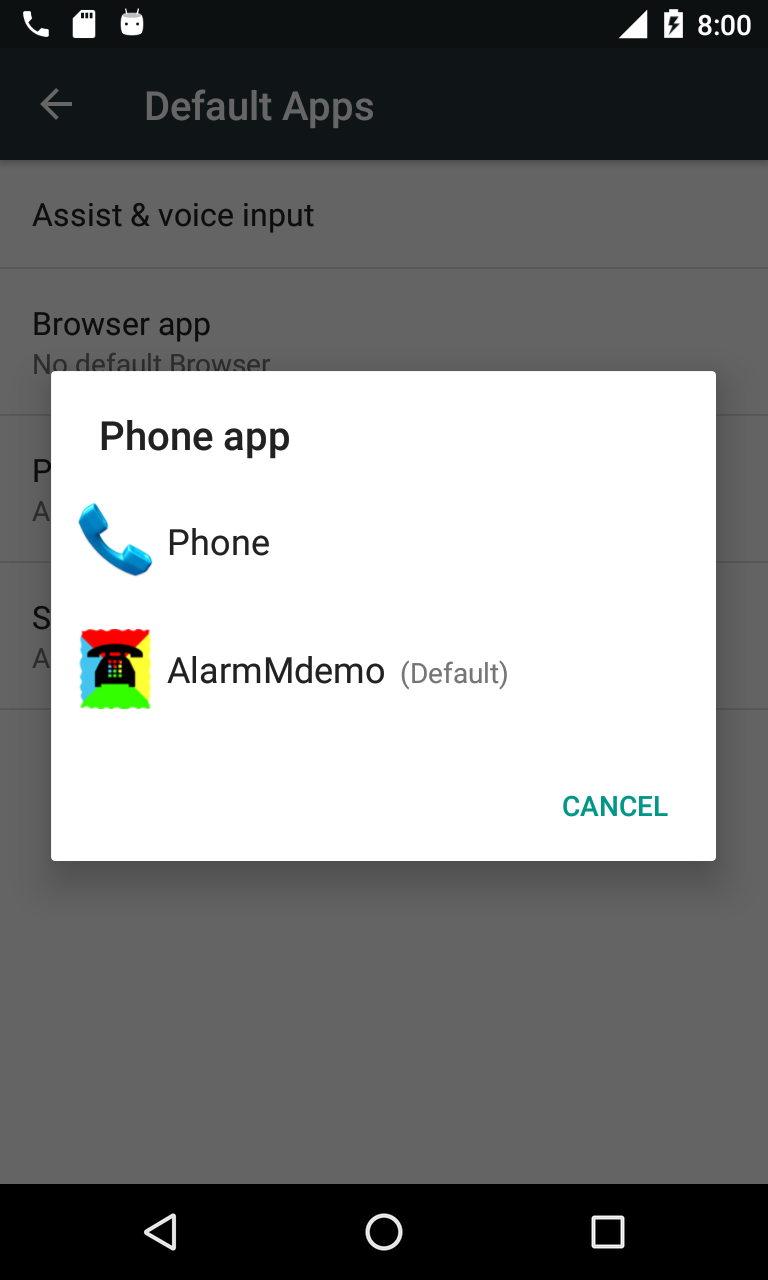 capability is used for enabling to switch remotely ON/OFF the alarm (see section 8.1 Phone Administrator ).
2. AlarmMdevice Main Screen Layout

2.1. Register
The alarm is displaying the time remaining.
Two hours (0D 1H 59M 59s) are allowed to test that the application is fullfilling your need before acquiring a licence .
When the time has ellapsed the counter can be restore to 2 hours by registring with an empty license.
In order to acquire a license the button Register (see section 10) lead you to the registration page. It is also possible to reach the
registration page through the
option menu
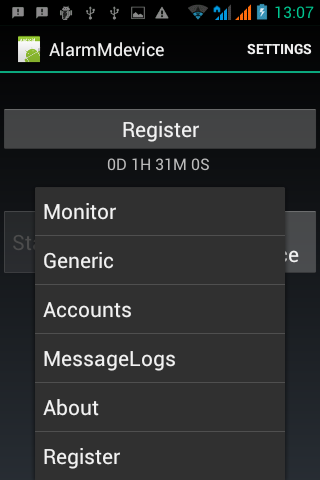 Register.
2.2. Start and Stop Service
When the service is started a background process will monitor all the alarm which have been setup in "SETTINGS" option menu.2.3. Mute the alarm

The middle button "ON" is used to make the alarm silent without stopping the background process. Touching this button will toggled it to an "OFF" state. When the alarm application is muted only notification and logging will occur. Moreover the alarm can be muted by an external phone call from the administrator in section 8.1
3. Setting Monitoring harware

The configuration of these hardware location is in the menu "SETTINGS". The Alarm application can monitor all kinds of external device, monitor sound level and monitor user interaction with a button. The "Discover" menu option will inspect the local network for ONVIF devices. Most of the IP camera are including the ONVIF protocol. Such camera will be configured automatically.
3.1. Adding a REST Device

In this configuration page different type of device can be configured. Additional device can be added at any time with the option "Update All" from the menu.

- Brand
Choose one in the list of supported Brand ( supported device
 ).
The brand name "Modbus TCP" is designed to configure modbus devices.
The brand name "Automatic Discovery" is designed to configure ONVIF devices.
- Model
Each Brand may have different model
 .
available. The option menu "Update Current" will only update the model of the selected brand.
- Serial
This is only applicable for ONVIF and Mobus TCP devices.
- Name
Free choice to personalize name
 of the device.
- URL
Not used
- Realm
Not used
- Local IP
IP address of the device. If the Https box is checked then a secure connection will be established. The port text is defining the port used to connect. The apps decided to used Local or Global IP according to paremeter in section 7.1.

- Global IP
Global adress is used by the application when the phone is on a Public or Unknown network. A web address of the of the device or an IP adress as above. If the Https box is checked then a secure connection will be established. The port text is defining the port used to connect. The apps is decided to used Local or Global IP according to paremeter in section 7.1. Tips: leaving all the field of the Local IP and port field empty will force the apps to use the Global IP even if it is located on the private wifi.
- Login
Same user to connect to the device web interface.

- Password
The password corresponding to the login above
Tips: A long press on the title "PASSWORD" is showing the password.
- Security
The connection is done with default basic authentication. The application is offering the less secure UrlAPI and more secure Digest protocol.
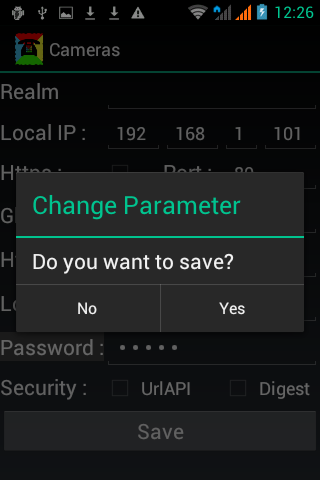
The button save will update the parameter. Any a prompt will appear if parameters have been changed.
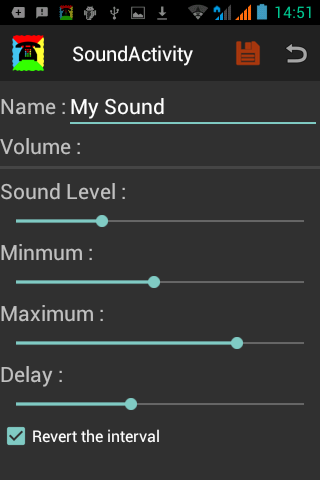
3.2. Adding a sound

This feature is adding an Input on the apps. An alarm can be trigged if the sound level reached a certain level
- Name
Enter a personalize texte for the name of the sound alarm

- Volume:
Green line is a representation of real volume of the recorder sensor of the phone. The volume is scale to decibel.

- Sound Level:
This slidding bar will increase the sensibility of the microphone sensor

- Minimum Maximum
A alarm will be triggered if volume is above minimum and below maximum. The alarm will change the color of the volume line to red

- Delay:
This can increase the time during which the alarm remain activ. When the alarm is activ the noise coming to the sensor will ignored.

- Revert the interval
When the box is checked, an alarm will be triggered if volume is less than minimum OR more than maximum.
3.3. Adding a button

This feature is adding an output button on the applimation main window. These button can be used to trigger an alarm or switch ON/OFF a device such as a light, or open/close a garage port or whatever. Button can be programmed to trigger an alarm (sound, email, message text) if somebody click on a button.
- Name
Button will be identify by the system with its name which should be unique. Enter a personalize texte for the name of the button

- Info
Info text will be the label of the button. The label will be printed inside or below the button.

- Size
This is the percentage width of the button layout. It is possible to mixe button of different size

- Digigal or Analog
Button are represented by long press round button when they are binary (0 or 1). When a analog value is required the representation of the button must be changed to a scrollbar.

3.4. Overview of the device list

Once all the necessary hardware have been added they are displayed in a list. User can activate only the necessary alarm with the ON/OFF button following the device name.

The layout of the device and button is following the order of this list. Activation of the button preceding the device or button name will force icon to flow on the same line in the monitor view.

Every item of the list can be edited, deleted or reordered.
A long finger press on one of the device will displayed the
interactive menu
 "Edit", "Delete" or "Move".
The item to move is surrounding by a green rectangle. A long press on the destination will open the interactive menu "Confirm Move" or "Cancel".

4. Start and Stop Sevice

Any change in the device configuration will required to stop and start the servie in order to make these change effective
From the main screen the button "Start service" will start the backround process.
When the background process is started the button "Start service" is disabled and the button
"Stop Service"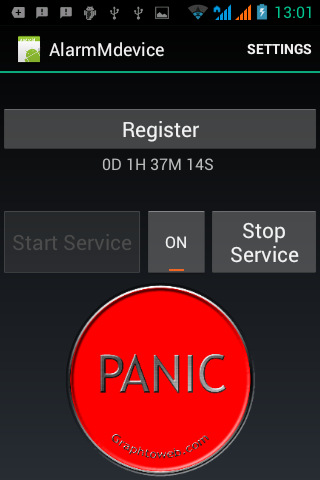 is enabled.
When the background service is running is possible to come back to the main screen through the
notification bar
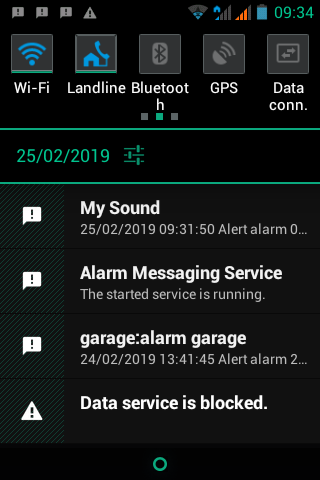 .
Every change in the SETTINGS won't be effective until the service is restarted.
5. Monitor the alarm

From the user menu choose the Monitor option .
.
This will bring up the "MonotorIO" page. This page will display all the alarms define in the "SETTINGS" menu.
Title of each device can have three colors: White, Green and Red
| White | Green | Red | Orange | Blue | |
|---|---|---|---|---|---|
| Camera | Don't Use Config | Monitoring | Problem** | Waiting | ........ |
| Sound | Don't Use Config | Monitoring | ...... | ....... | ........ |
| Button | Don't Use Config | ........ | ........ | ........ | In use |
Every IO icon has two states.
** In order to handle a
RED title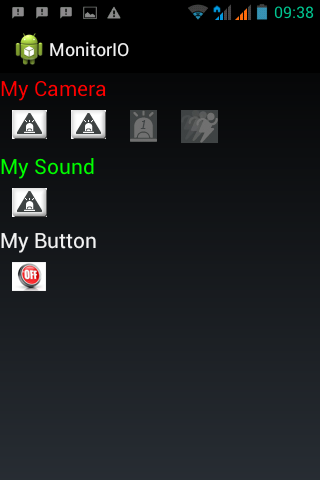 , man should look in the MessageLogs menu

5.1 Customize the icon
Every icon has two distinguish state which are represented with a default icon. In order to customize the icon the monitor view must be in Editor Mode. A short cut to toggle the editor mode is to click on the application icon at the top left of the menu bar.

In the IO editor mode the top menu bar will become white and it is possible to select one or more icon by a finger press. Repetiv press on a icon will toggle the icon state.

A long finger press on one icon will open the standard contact application with a new contact. The new contact is already with parameters which must not be changed !.

Only the picture of this new contact should be changed. Then is is possible to choose any kind of picture from the standard Gallery.

Now the icon has been changed and is visible inside the monitor view. Toggle the icon state with a finger press. Repeat the long finger press operation in order to change the picture of the reverse state.

A new contact will open for the reverse state. The new contact is already with parameters which must not be changed !. Just choose a new picture for this icon.

Now the IO in the monitor has the icon visible in the monitor view. The contact paremeter should not be modified. If a contact is deleted then the icon will simply revert to default
6. MessageLogs

From the main screen "AlarmMdevice", choose the option menu "MessageLogs". This screen is logging information, event and state of the application. The line following "Service Start" is giving information about the current network connection.
It will indicate hints about a "RED" title of one of the monitored device.
Typical error are wrong or unreachable IP adress
(result in a No route to host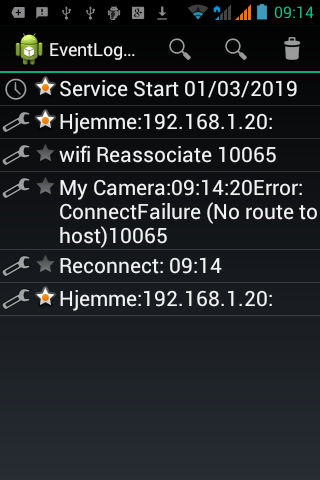 ),
a slow network or a timeout value (see section 7.1 too slow
(result in a timeout
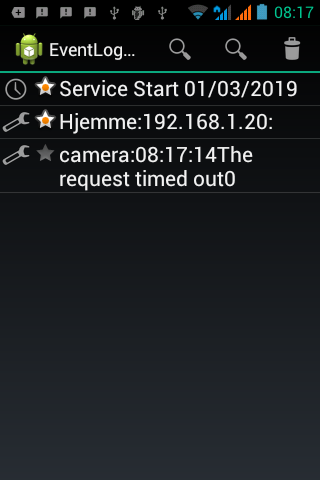 ),
mixing too differents hardware IP adress
(result in a not found
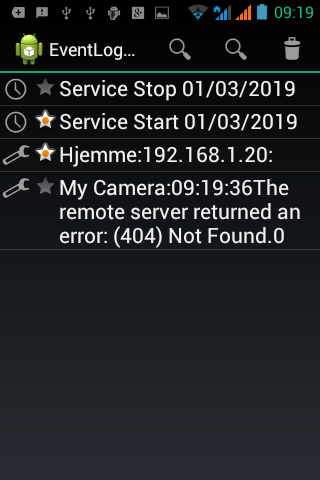 ),
a wrong login or password
(result in a forbidden
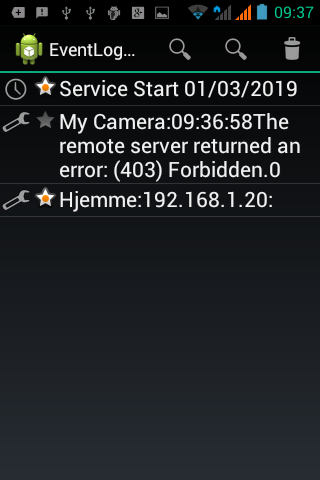 ).
).
The monitor screen has three menu button to ease cleaning and sorting the logs. Every log entry has a description preceded by two icons. These icons are representing the category and level.
6.1. Categorie sorting
The top left icon is allowing to sort the logs according to categories.
- Everything

All the category will be displayed
- System
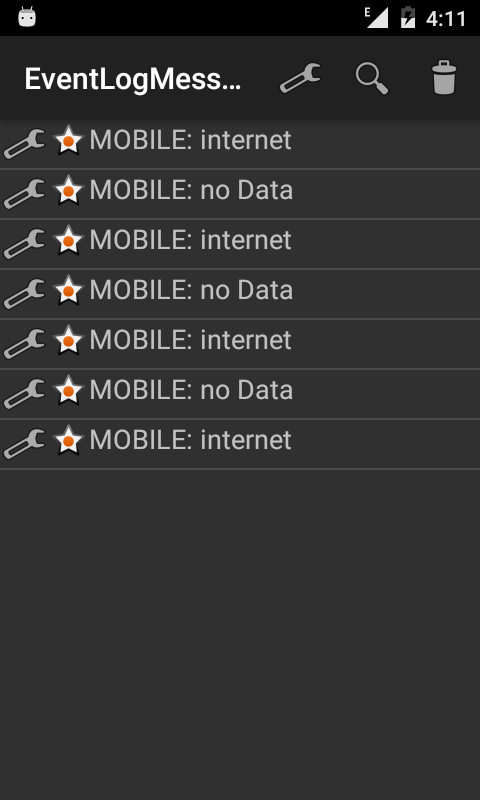
- logging
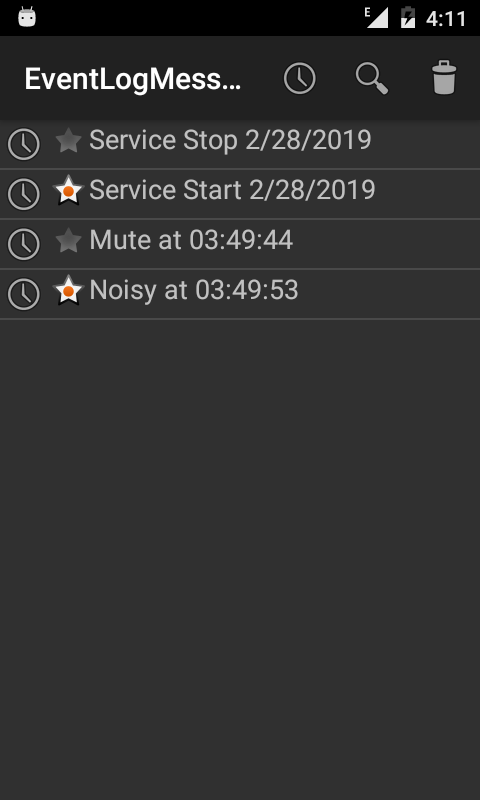
- Mail

Mail sent with the account provider in section 8.2
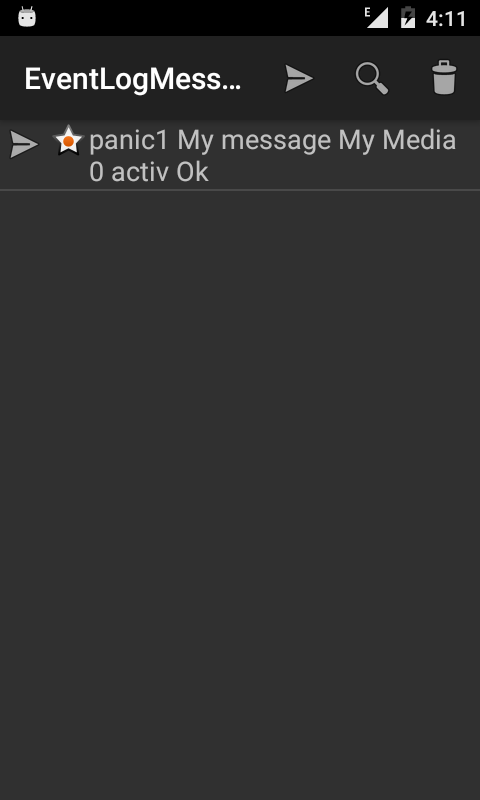
- SMS
- Outgoing Calls
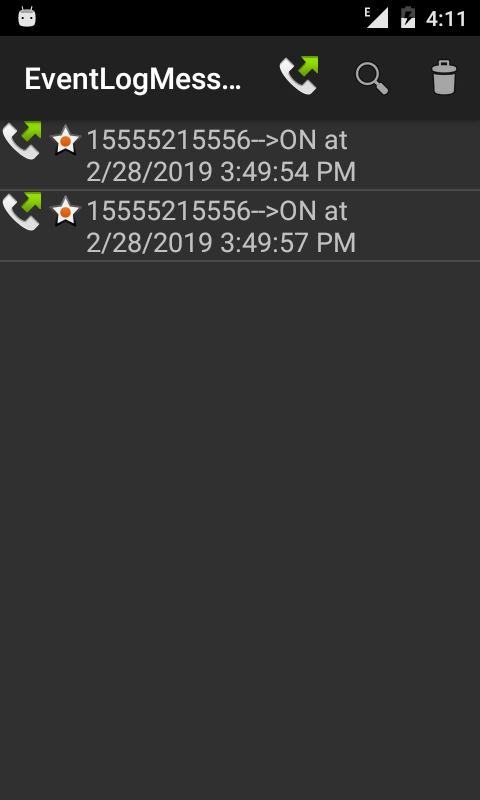
When the Apps called a fixed line it will add an entry in the event log.
- Incoming Calls

When the phone received a dial called from Administrator it will add an entry in the event log.
- Calendar events

Event reminder from calendar will be added in the event log.
6.2. Level sorting
The top middel icon is allowing to sort the logs according to level
- Everything

All the event logging entry are displayed
- Red star
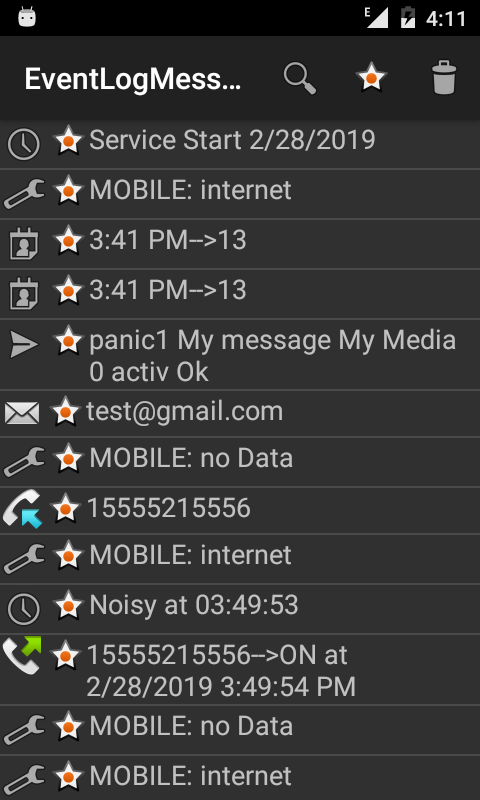
Only normal event are displayed
- Gray star
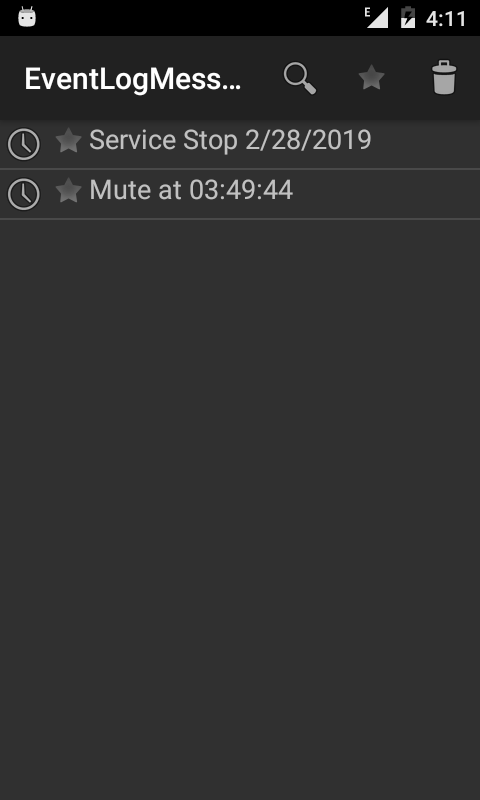
Only unexpected event are displayed
6.3. Garbage icon
The top right icon is allowing to remove logs entry from the database.
It will only delete the entries currently sorted.

7. Generic
From the main screen the option menu "Generic" will open the global parameter page.
Four different section can be tuned.
7.1. NETWORK
These parameters will influence the network connectivity to the alarm device.
- SSID
This is the name of your home wifi network. Whenever the phone is connected to this wifi it will use the LocalIP. On all the other network it will use the GlobalIP. This field can be edited manually and more than one SSID can be provided. In order to avoid misspelling it is enought to click on the "NETWORK" title to add the current SSID network in the list.
- Public IP
The fixed IP of the protected home can be writen in this field. It is not necessary and will only be used by the home owner wishing to control its his alarm system form a remote place. When the public IP is not fixed a driver providing Dynamic IP updating can update this field automatically.
- Timeout
Indicate the time in second after wich a not responding connection will be droped. Increate this value if EventLogs entries have too much timeout error as describe in section 6
- Sleep
Update rate in milliseconds of the IO state.
7.2. SOUND
Tuning of the alarm phone volume and duration.
- Volume
Scrollbar to tune volume delivered by the phone. It's only applicate to this application.
- Duration
Scrollbar to tune the maximum duration of an alert between 0 and 30 seconds.
7.3. IMAGES
These parameters should be left unchanged.

7.4. SMS/DIAL
The application can automatically send SMS (see section 9.1.7) or DIAL in case of event alert. These features are implying the use of dangerous permissions. Some phone model may request more permission than other. When downloading from Google Play Store text message and call features are not yet available.
- Delay

Quaritine time in minutes befores allowing next SMS or DIAL to execute again. This option is usefull to avoid repetive message during alarm setup. Alarm with different media are garanti to execute once before going to quarantine. Quarantine will be displayed in the EventLogMessage.
- Logging both Off and On signals
Alarm can occur only on one state of the signal but sometimes it might be useful to know when the alarm is down again. Both IO state (alarm OFF and alarm ON) change will be recorded when this option is checked. The apps can log IO state in the sandard Messaging application of the phone as described in section 9.1.1
- Avoid default handler whenever possible

Due to security concern some operations are requiring that the Apps become the default SMS application (KitKat 19 or newer), other operations are requiring that the Apps become the default Phone application (Marshmallow 23 or newer). When this option is checked the application is asking to become default handler only when necessary. When this option is unchecked the applications service will always start asking to become a default phone and sms handler.

This application fullfill all requirement for Dialing and Texting with minimal graphical implementation. When stopping the service the application will prompt the user to restore the handler to their initials state. But it is always possible from the android setup menu to change manually the default handler.
Force using Notification Access/default Phone app will only appear on Android version bigger are equal to 23. This is primary used to detect and kill incoming phone from administrator. Since the alarm is killing the call from administrator without hang on no cost are generated. When a contact administrator is choosen with a Landline phone number you will be prompted to setup one of the following option. User can choose the prefer option.
- Notification Access

This option will redirect to a settings page where the configuration has to be changed. It is always possible to remove this option from the settings menu.
- Default Phone App

This option will ask the permission to become the default Phone Call application of the system. When the service stop the application is prompting the user to swicth back.


8. ACCOUNTS
Here are define paremeters concerning the administrator of the phone and the sender of the email
From the user menu choose the
Accounts option.
8.1. PHONE ADMINISTRATOR
The application is monitoring external phone call.
The phone administrator is allowed to mute ON and OFF the alarm as described in section 2.3
By touching the area it is possibled to add an administrator by choosing from the
stantard android contact list
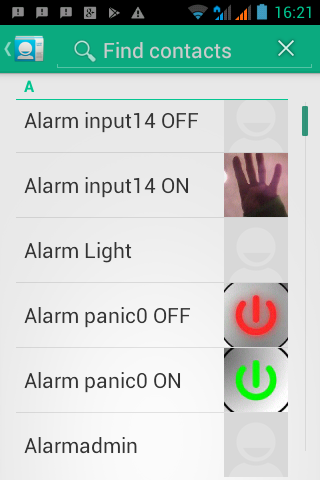
All the number
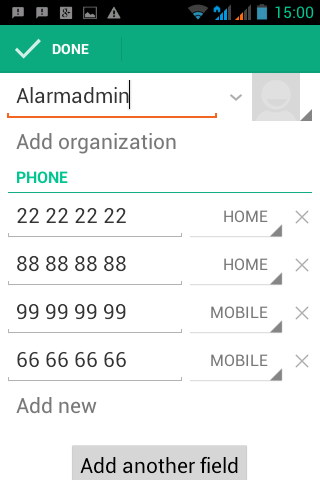 contained in the contact will be granted privillege to toggle the alarm "ON" and "OFF"
The application behave differently if the administrator is dialing from a Mobile are a fixed line. Every times it is the application alarm which hangof
- Mobile
Administrator calling from a mobile will received an SMS with information of the current alarm state
- Fixed line
Administrator calling from a fixed line will be called back. The administrator has to hang off. It will called back once for a state "OFF". It will called back twice for a state "ON".
For android API with version higher than OREO (API 26) it may be nescessary to set up this app as the
default Dialer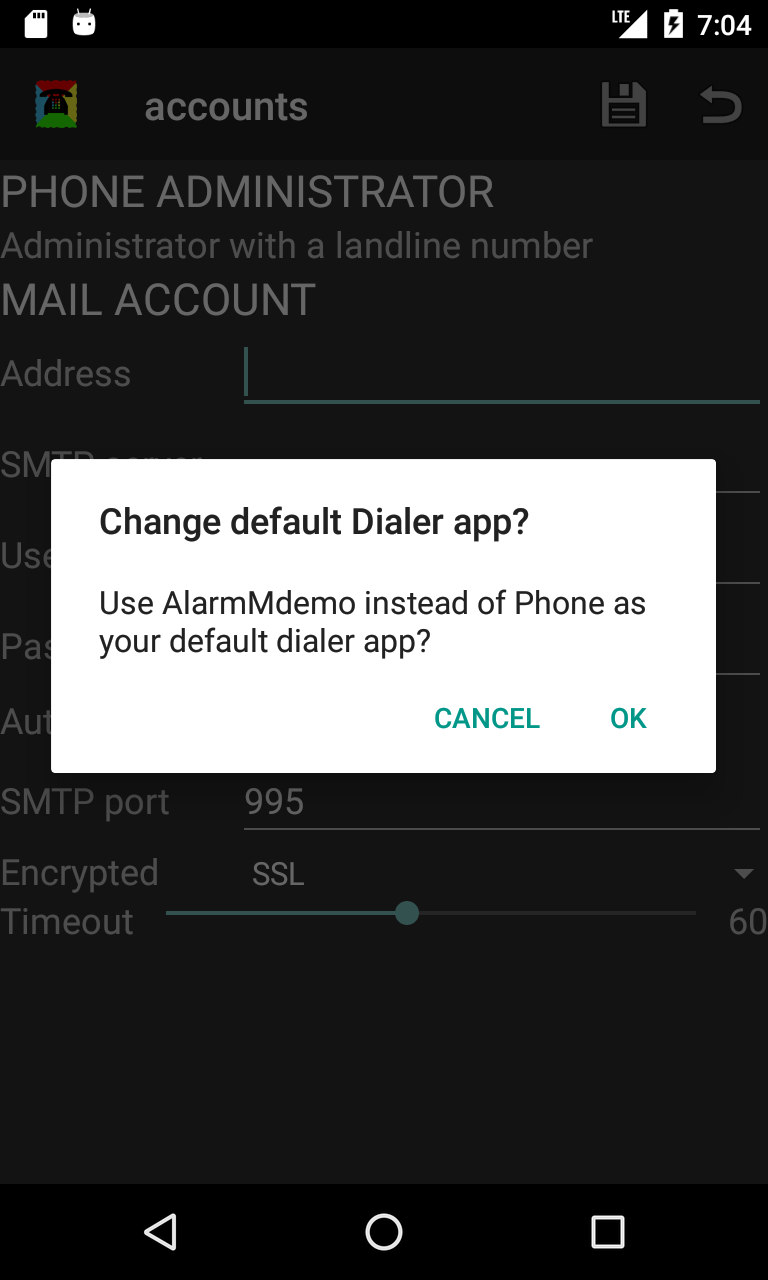 app (see 1.3 Permissions).Doing so will reduce the phone call capability.
An alternative to is to setup the
option
 "Force using Notifcation Access"
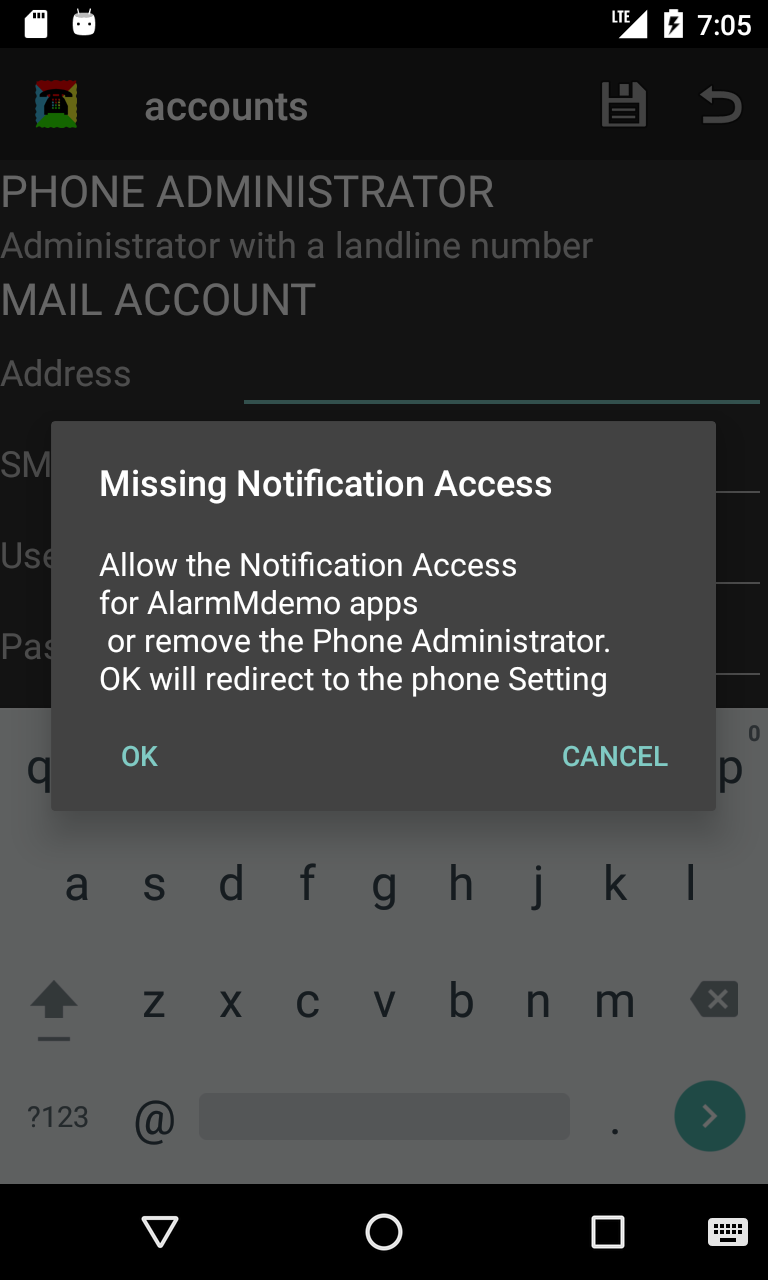 .
The application will redirect in the
settings
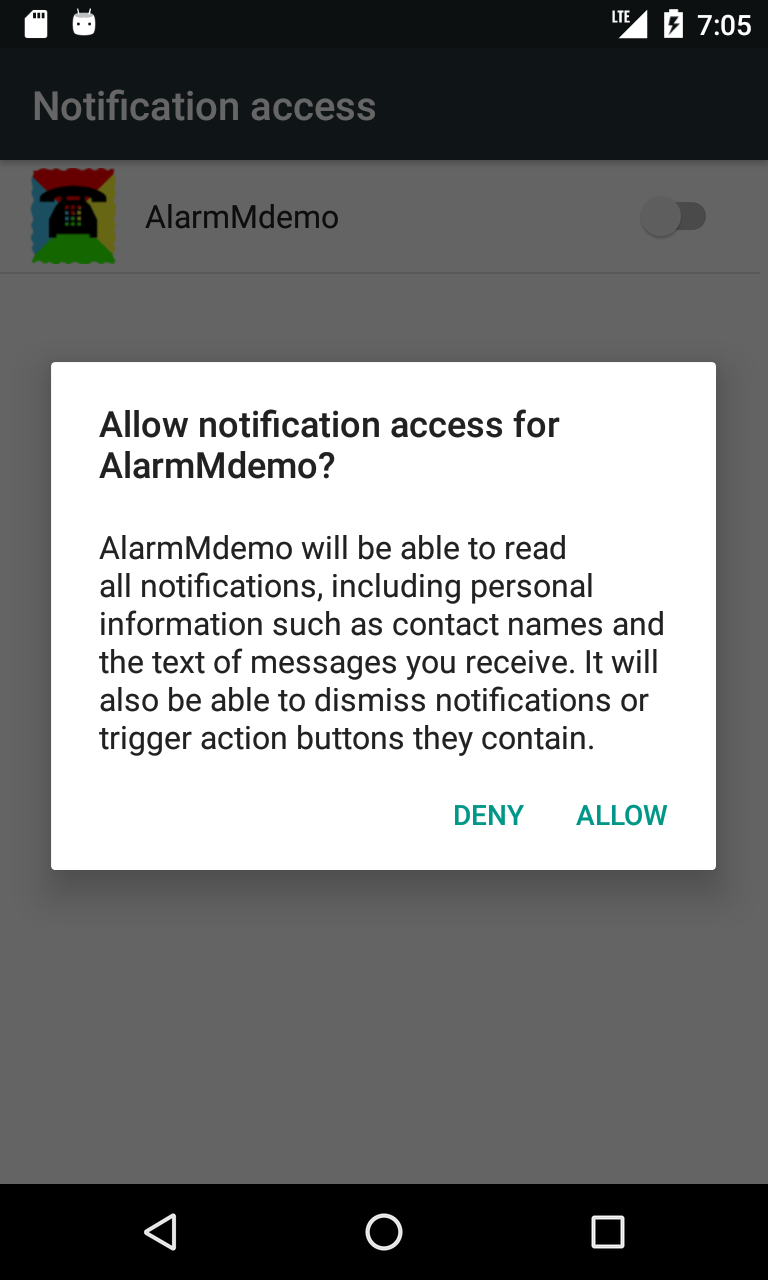 where this permissions can be enabled.

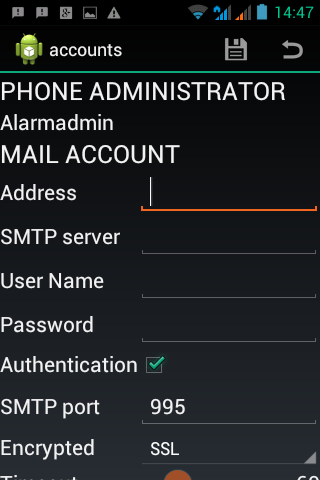
8.2. MAIL ACCOUNT
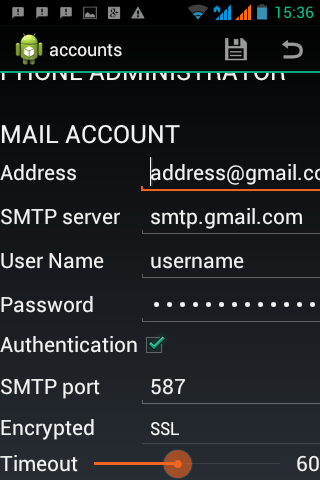
The alarm application can send an email (see section 9.1.6) upon changing state of the IO. In order to use this features you must provide information about your email provider. Example of an Gmail configuration.
Email sent are logged in the EventLog view here
9. IO actions

Purpose of this application in section 1 is to react on alarm signal.
Going to the "MONITOR" view it is possible to assign action for every IO. Action are represented by colored lines around each IO icons
First the option menu "IO Editor"
 from the menu has to be selected
All the IO icon are changed to desactivate state. The top of the
screen
 is displaying "0 selected"
After selecting one or more IO icon, the top of the screen
 is displaying 3 new icons and the number of items selected
Below we explain the functionally of the three icon:
-

The top right icon permit to add messaging.

-

The second right icon permits to add media.

-

The second left icon permits to add moment.

-

The top left icon permits to add movement.

9.1. Messaging

Messaging are event that will be associated with all the current selected IO icons. By default "None" notifications are allocated to all the IO.
To ADD a new messaging a touch on the "ADD"
 button is nescessary.
The text field at the top is to give a personalize name
 of the messaging
A screen with a grid of radio button is used to parameter the new messaging.
Each line specify a messaging type and its occuring in time.
Their are four choices for a messaging action to occur in time, when an IO state change.
- Always

IO state change will allway trigger an alarms
- Busy

IO state change will trigger an alarm only if it is schedule (see section 9.3) in a calendar.
- Free

IO state change will trigger an alarm only if it outside a schedule (see section 9.3) in a calendar or has no schedule like Busy
- Never

IO state change will never trigger an alarm.
After the messaging has been save it will appear in the list
 . To apply the current IO its correspond radio button
 must be selected
and "Validate Button" must be pressed.
A green line
 will appear at the bottom of the IO.
The App can deliver 8 kinds of messages when an IO is changing of state
9.1.1. Logging
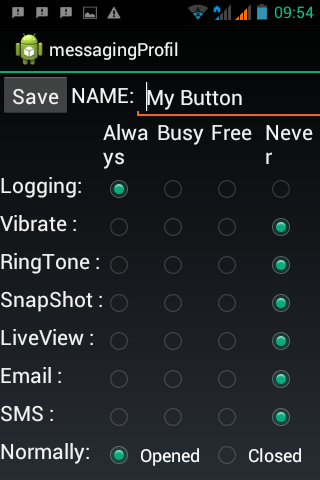
The apps is offering the possibility to log IO state (ON, OFF) in the
standard android messaging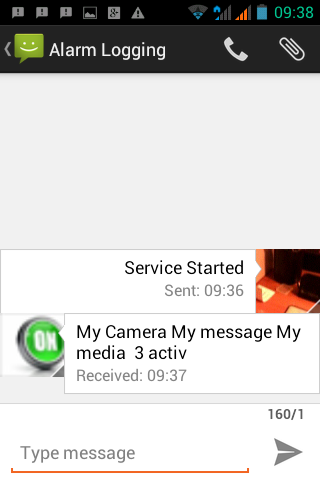 application.
Specific parameter are defined in section 7.4.
The texte "My Camera My message My media 3 activ" displayed when a media has been added (see section 9.2) to the IO.
As explain earlier it possible to log
both state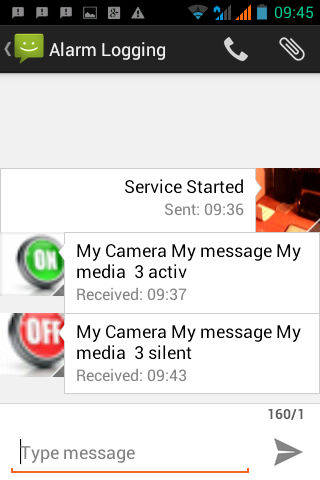 ON and OFF.
To display an icon in the standard android messaging applicatin a contact has to be associated with the IO.
In the monitor view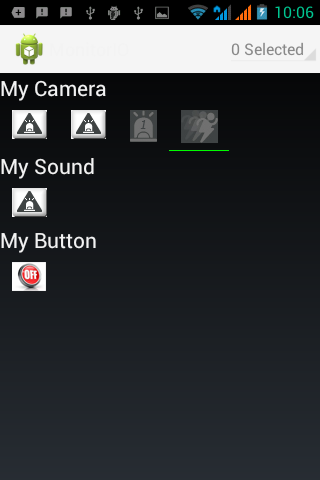 a long press on an IO icon will open
Store contact activity
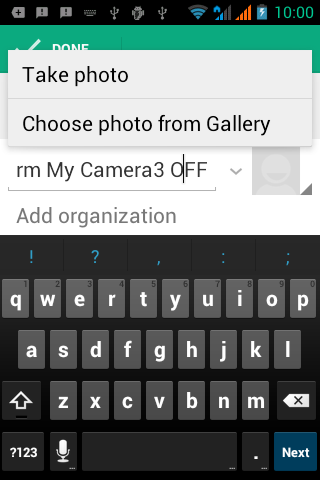 view.
view.
Do not change details of this contact except the
picture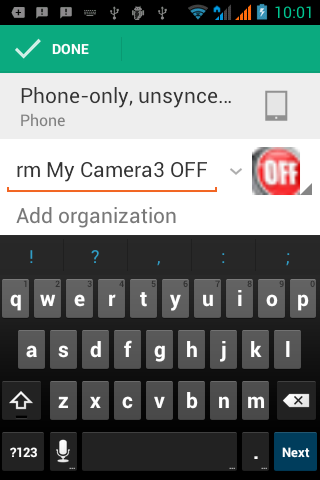 .
A different contact may be choosen for respectively ON and OFF state.
A short press on the IO icon will change it to
active state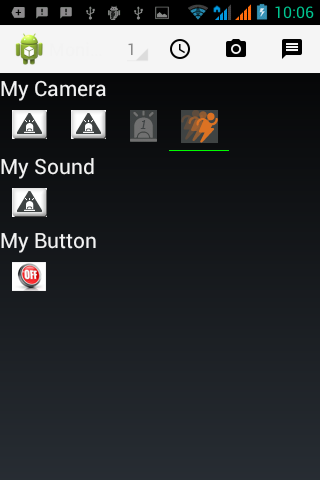 .
A long press on the IO icon will open Store contact activity
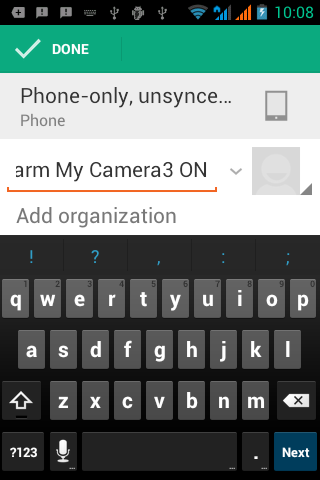 view.
view.
Do not change details of this contact except the
picture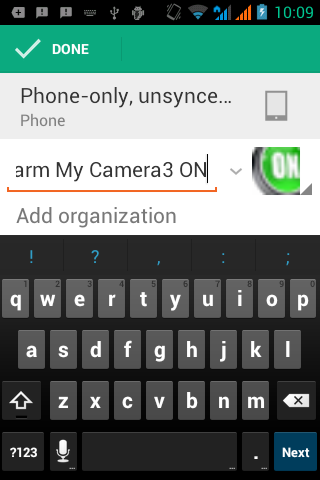 .
The contact are now added to the
phone contacts
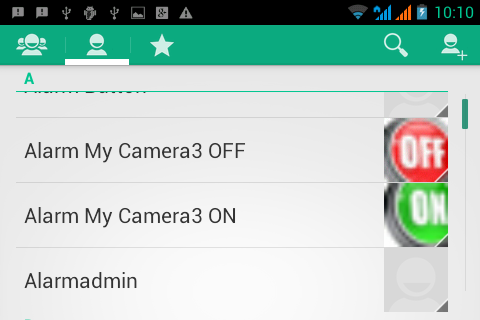 and will be used to signal change of IO state in the standard messaging application.
For android API with version higher than KitKat (API 19) it may be nescessary to set up this app as the default SMS app (see 1.3 Permissions). Doing so will reduce the phone sms capability but the device will continue to receive SMS anyway. There are no known alternative, but setting the option to "Never" will not ask for switching to default SMS app.
9.1.2. Vibrate
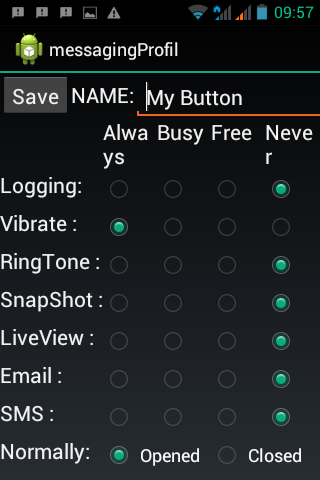
Vibrate the smartphone
9.1.3. RingTone
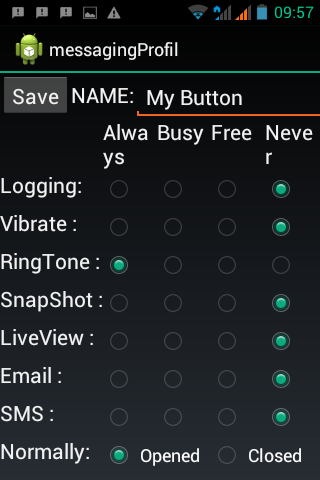
Use the phone ringtone to give an alarm. A media has to be associated with the specific IO as described in section 9.2.1.
9.1.4. SnapShot
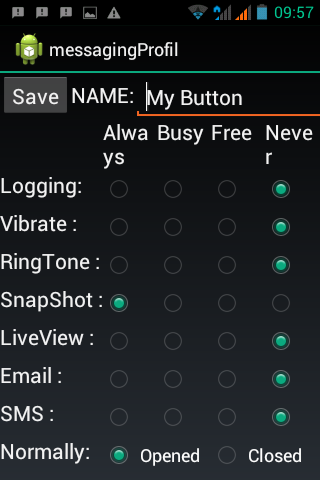
A media has to be associated with the specific IO and a source camera choosen as described in section 9.2.4.
Take a picture and place it in the standard android
Gallery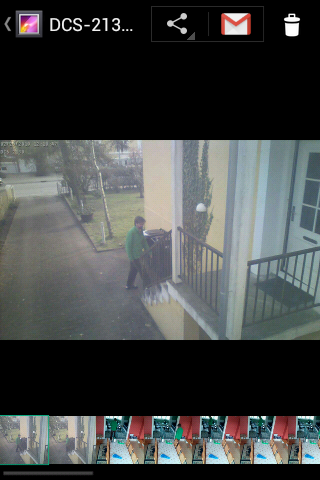 application in the folder called
"ImageAlert"
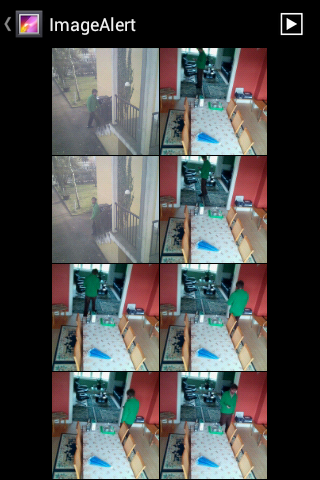 .
The image
details
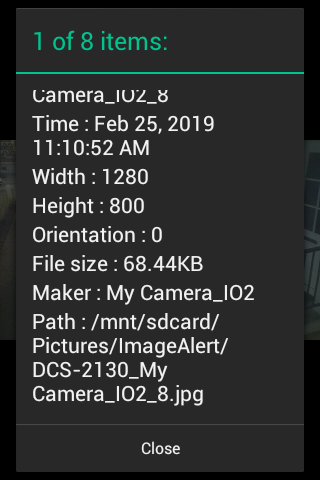 are displaying information about hardware device and IO which trigger the image.
9.1.5. LiveView
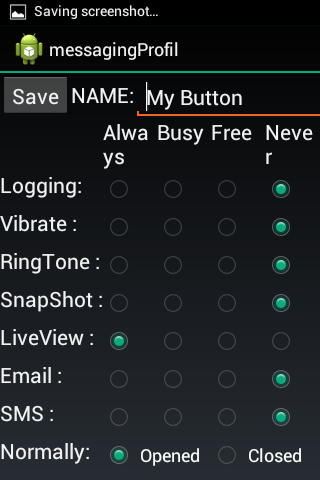
Wake up the phone with the last image stored in the Gallery on the view called
LiveAlert.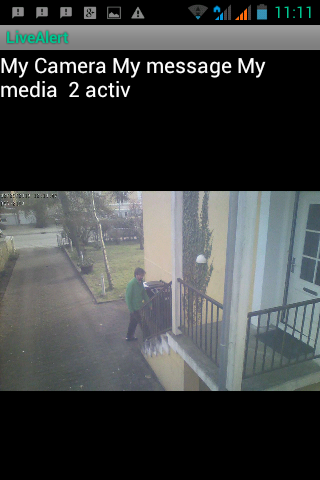
9.1.6. Email
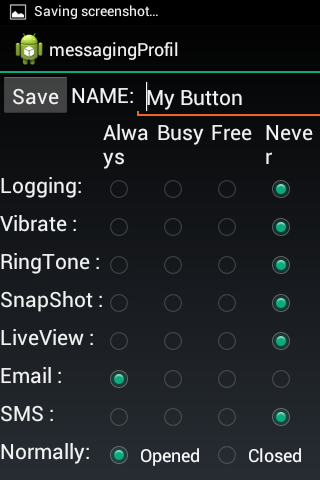
Send an email with attached image if snapshot is selected. A media has to be associated with the specific IO and a contact has to be choosen as described in section 9.2.2.
9.1.7. SMS and Call
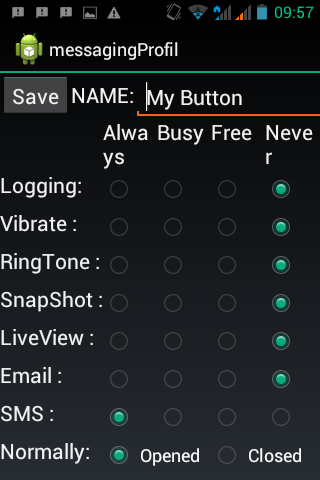 Send an SMS to every mobile phone number from the contact defined in the associated media.
If the contact has several Landline phone number then it will call the first in the list.
It is possible to limit the frequency of SMS by following instructions in section 7.4
9.1.8. Normally
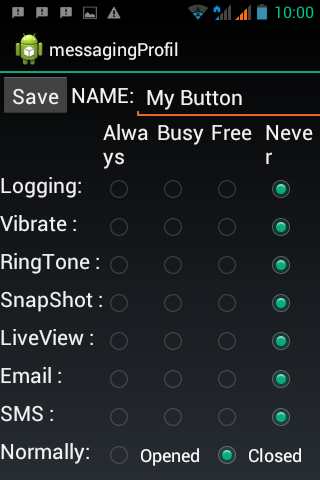
This option enables to choose on wich transition state the IO will trigger an alarm.
It's easy to
revert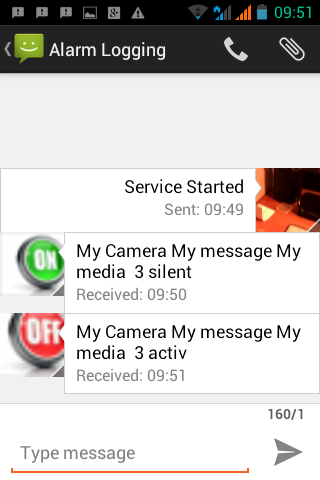 the
"normal"
 behavior of the logic.
An alarm signal can be ON or OFF. The messaging profiles allow the user to decide when to trigger an alarm event. Should that be on the ON or OFF? From electricity courses we learn that a switch will allow a current to run through a circuit. The switch is either opened or closed. From logic courses we learn that an information bit can be true or false. From programming courses we learn that smallest variable is a Boolean with two possible values 1 or 0. This is summarizing in the table below. Columns are gathering the equivalent terminologies.
| ON | OFF |
|---|---|
| Closed | Opened |
| true | false |
| 1 | 0 |
A normally opened profiled will trigger an alarm signal when the state is closed.
A normally closed profile will trigger an alarm signal when the state is opened.
9.2. Media
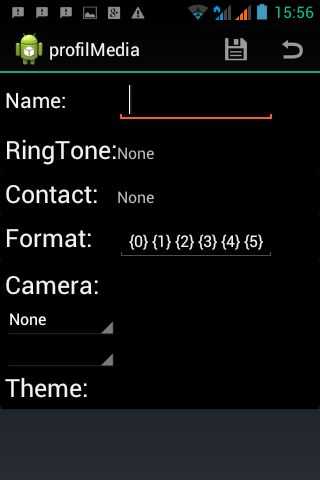
Media are element that are associated with messaging of the previous section. By default "None" media are allocated to all the IO.
To ADD a new media a touch on the "ADD"
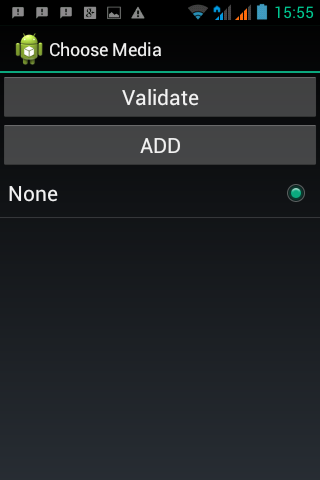 button is nescessary.
The text field at the top is to give a personalize name
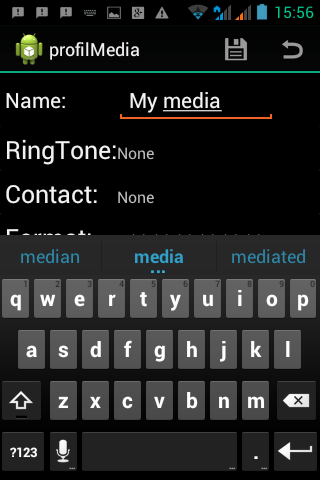 of the messaging. The following parameter are setup in this view:
After the media has been saved it will appear in the list
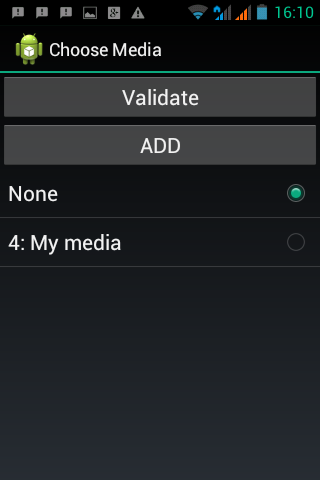 . To apply it to the current selected IO, its corresponding radio button
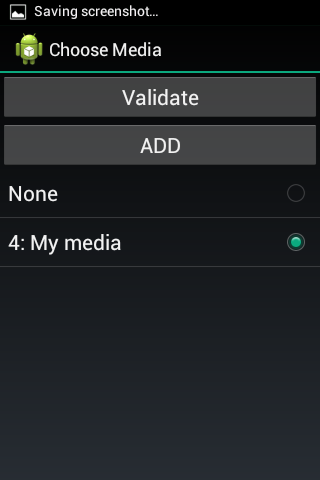 must be selected
and "Validate Button" must be pressed.
A green line
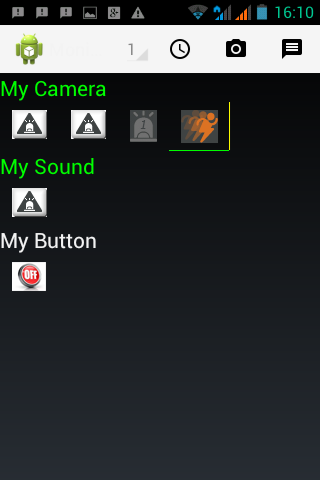 will appear at the bottom of the IO. The following parameter are setup in this view:
9.2.1. RingTone
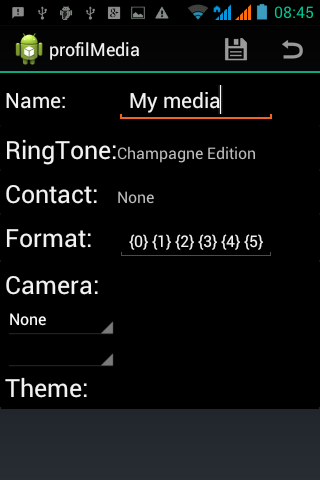
This is the phone ringtone that will be used for the sound of an alarm.
A long press on the title "Ringtone" open the standard android
sound list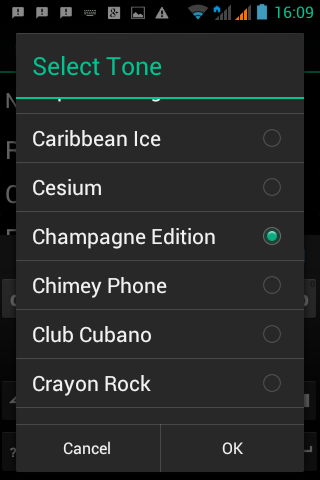 .
The IO contact need to have as well a messaging which allowed a ringtone as described in section 9.1.3
9.2.2. Contact
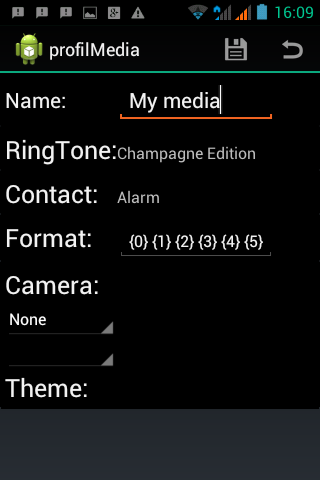
A long press on the title "Contact" open the standard android
contact list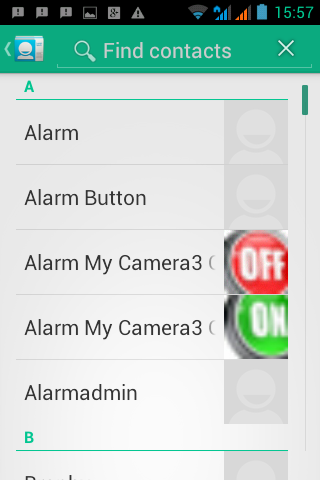 .
Field such as mail address or phone from this contact will be used to send respectivelly email and SMS.
It will send multiple message if more that one mail adress or phone number are valid.
In order to send an email a nescessary email account must have been set up previously in section 8.2
9.2.3. Format
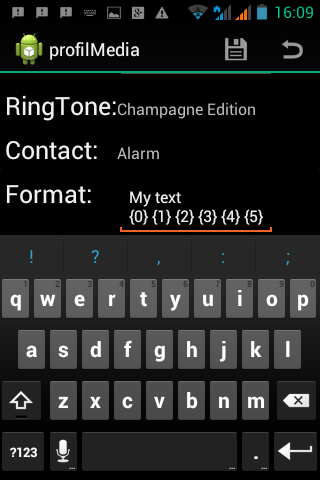
This is the text that will be used to illustrate snapshot. Some field are predifined:
- {0} Settings Name of the Device used.
- {1} Profile Name of the Message used.
- {2} Profile Name of the Media used.
- {3} Profile Name of the Movement used
- {4} Profile Name of the Format used
- {5} Profile Name of the Schedule used
- {6} IO Number. In the monotor view Left icon has number 0.
- {7} IO State, may be as activ or silent.
- {8} Current public IP of the application.
9.2.4. Camera
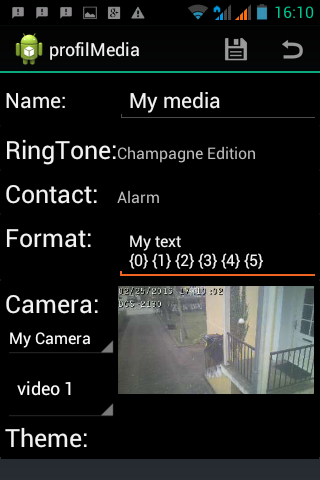
This is the image device source used to take snapshot as describe in
section 9.1.4 Each IO may be associated with another image
device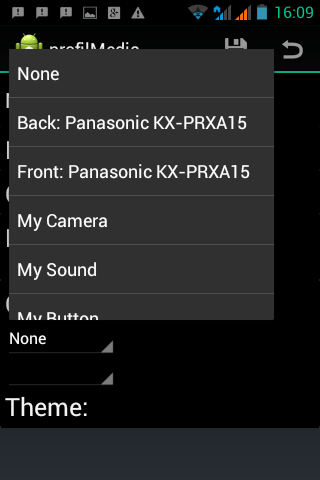 .
The built in camera of the smartphone can be used as well.
A device camera may have different
video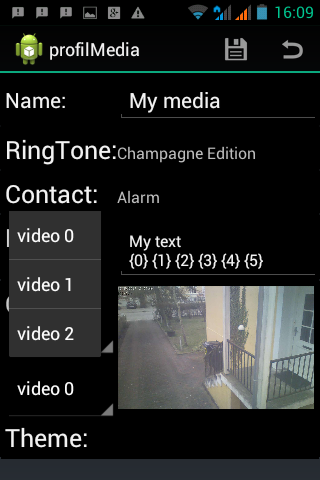 sources.
9.2.5 Theme
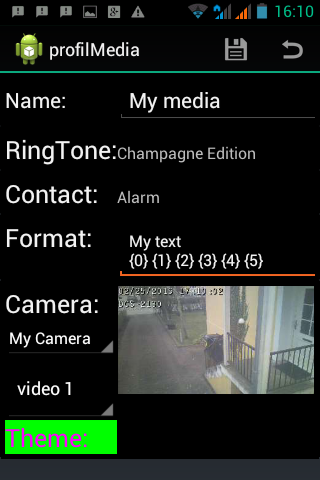
This is the background color used for the LiveView.
A long press on the title "Theme" open the standard android
color list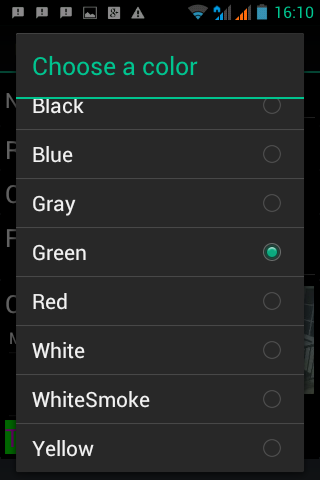 .
.
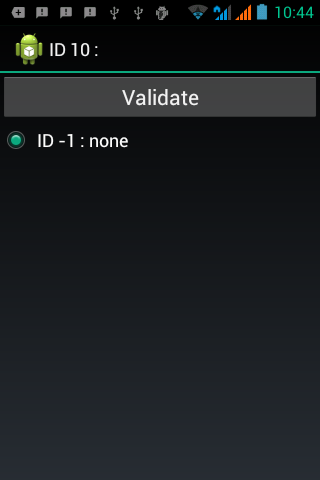
9.3. Moment
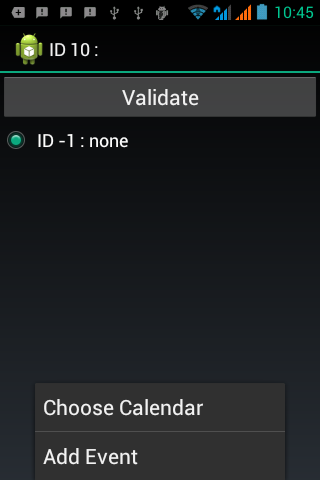
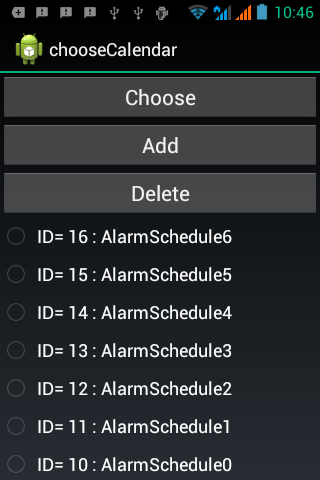
To associated a schedule a calendar has to be choosen
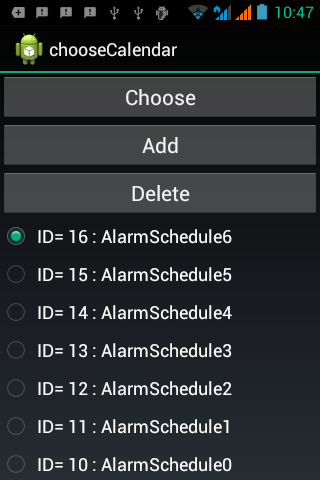
Click on the button "Add" to add a calendar and check the radio button.
To used the checked calendar the button "Choose" need to be clicked
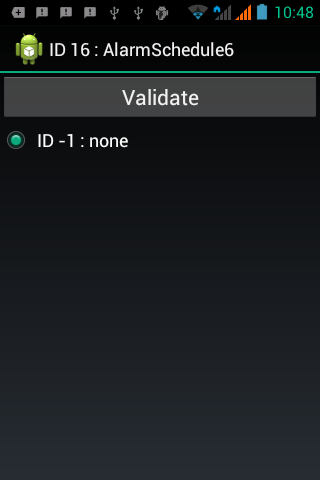
 .
.
The activ calendar will be displayed at the top of the view
From the option menu the "AddEvent" opens the standard android calendard.
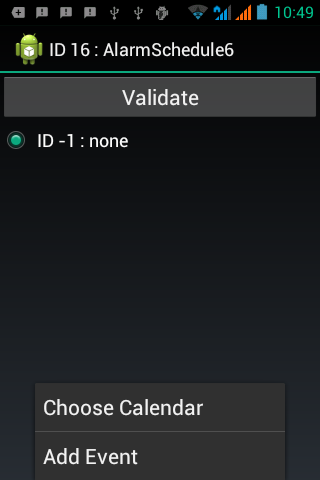
The following options has to be setup
- Current calendar
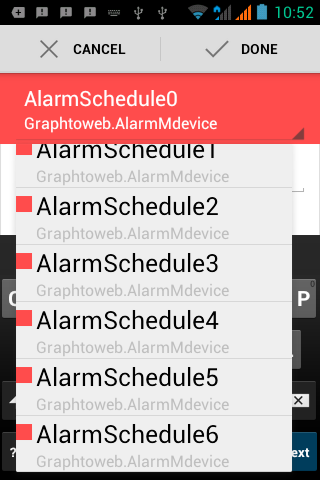
Change the current calendar to the one choosen in the previous step.
- Custom name
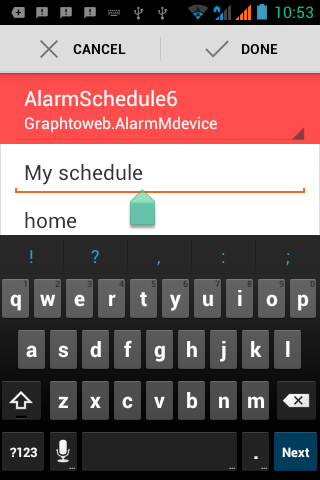
This name will be used in Media and EventLog
- Location
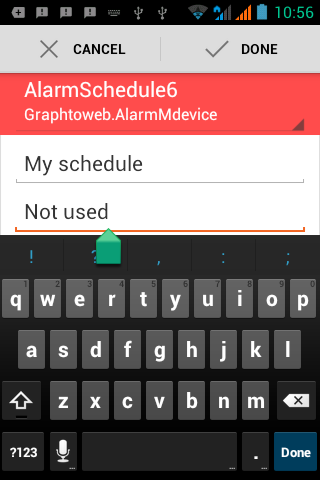
Not used by the apps
- From
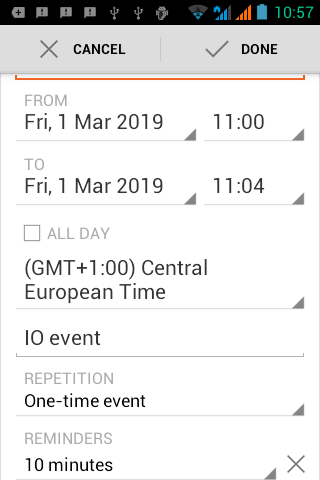
Set the beginning of the event
- To
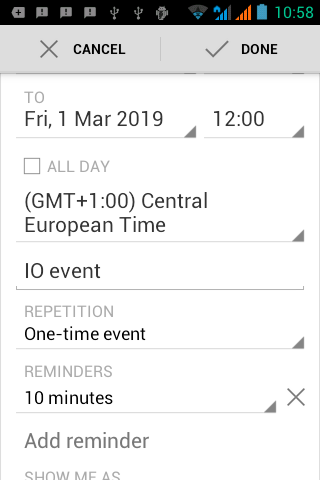
Set the end of the event
- REPETITION

Repetion will work with the apps
- REMINDER
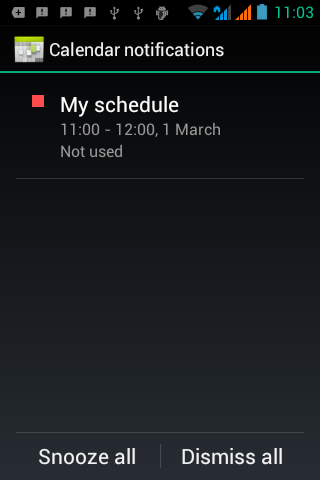
Reminder are pop up in the standard android application and are logged as well in apps the event log
The other parameters are not used. Once the calendar event has be setup it should be saved with "DONE".
The event will appear in the
standard android calendar
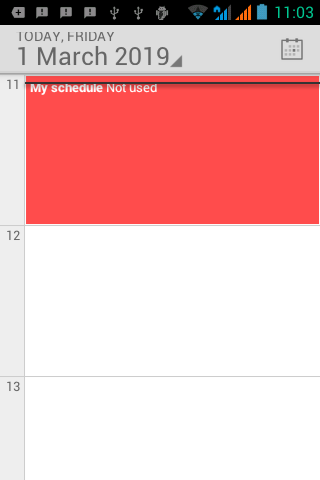 .
The smartphone "back" button has to be clicked to come back to the apps.
The new added event will be in the list
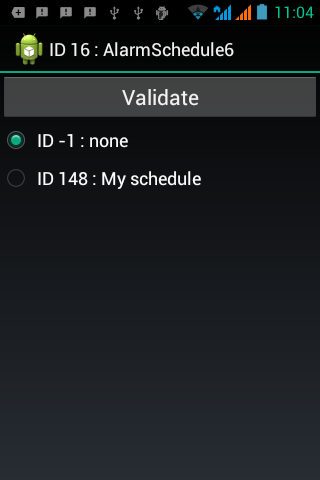 and can be selected
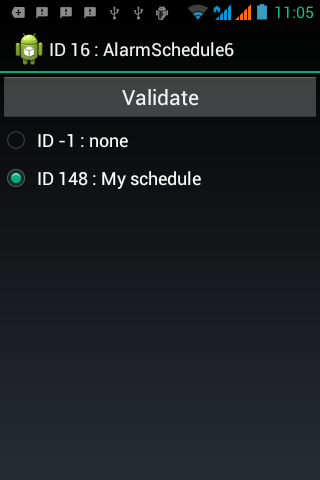 and "Validate". Now
red line
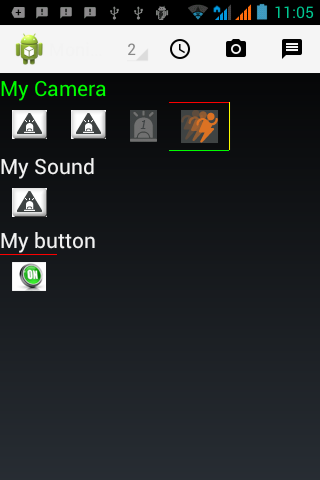 has been created above the IO icon
Every IO action can be synchronize with a Calendar event. The AlarmM application is using the standard Android calendar.
Schedule will be used when an Messaging is setup the "Busy" (see here) or "Free" (see here). Schedule are calendar event that are associated with IO icons. By default "none" schedule are allocated to all the IO
For more information about scheduling an alarm look in the section "Schedule an Alarm" on the video tutorial page.
9.4. Movement

It is possible to change the state of an output digital or analog. First a profil movement is created in order to choose the group of condition and the group of output target. This profil movement can be associated to any number of source input, output or button. When the source is switching from/to alarm state it will trigger all the target from/to normally state. When the alarms system is stopped, paused or going to Monitor view all the state will be reset to a non alarm state.
Profil Movement Condition:
- All input must be valid
When the same profil movement is associated to several IO, they must be all in alarm state in order to change to state of the target output. This can be compare with logical "AND" operator.
- ON state has auto-reset
The output(s) will remain ON for the Duration time.
- OFF state has auto-reset
The output(s) will remain OFF for the Duration time.
- Normally Opened/Closed
This is the initial state of the group of target output. The concept of Normally Opened/Closed is extended to the analog output Min/Max.
- Delay
Sleeping time before the group of output are changing state.
- Duration
Sleeping time before the auto-reset is activated
Warings: creating contradictory profil movement is allowed but effect may be unpredictable or random. For example the same output may be inside two different profil Movement with different conditions. Be aware than circular reference may produce infinite loop but that may be a wanted feature as well.
The group of target output is choose from the dropping list. Any number of output can be grouped in a profil movement.
A lot of combination are possible and example can be found in the page "Movement and Measure".
9.5. Measure

A profil Measure is used to define the physical meaning of an IO raw value. This is achieved by simply scaling the raw value and defining the range where the analog IO is in alarm state. It can be used both on digital and analog IO. The following parameters are used:
- Name
The name which identify the use of this scaling
- Use raw value
Display the raw value but use internally the scaling and trigger.
- Zero
The origin of the scaling
- Range
The end of the scaling
- Theme OFF
Long press on the title will open a list of color. Choose the color use to visualize the state "off" on the monitor view
- TriggerLow
Lower end of the interval defining the chage of state
- Format OFF
standard represantion of the numerical value
- Theme ON
Long press on the title will open a list of color. Choose the color use to visualize the state "on" on the monitor view
- TriggerHigh
Higher end of the interval defining the chage of state
- Format ON
standard represantion of the numerical value
The following Option
 will alter the behaviour of the profile
- Use backgroung
Unchecked to make the background of text transparent
- Show value
Unchecked to hide the value
- Revert Trigger
Alarm is set when value is between Low and High trigger when it is checked.
Advanced technic can be used to transform an anolog to a digital and reciprocally. Example will be provided on the page Movement and Measure
10. Register

Register is accessible from the Main Screen as described in section 2.1. In the Demo period this application will stop after 2 hours. A dummy registration will grant a new period of 2 hours. It is possible to acquire a one year through a paypal purchase.
10.1 Paypal

This is not a part of the AlarmM application. More information about Paypal can be found on Paypal website.
The "PAYPAL LICENSE" button will redirect to the standard browser.
A web document is informing that the user will be send to Paypal website.
The button "Buy Now" will open the paypal user login.
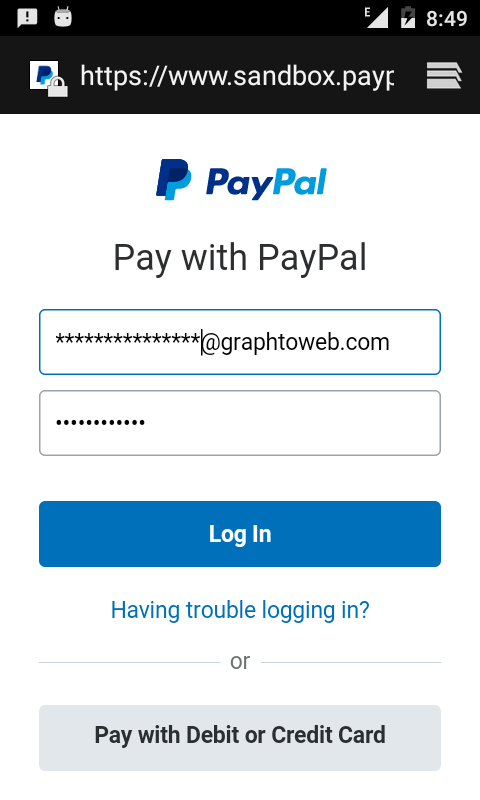 Once logged its possible to buy the one year license by clicking
"Pay Now"
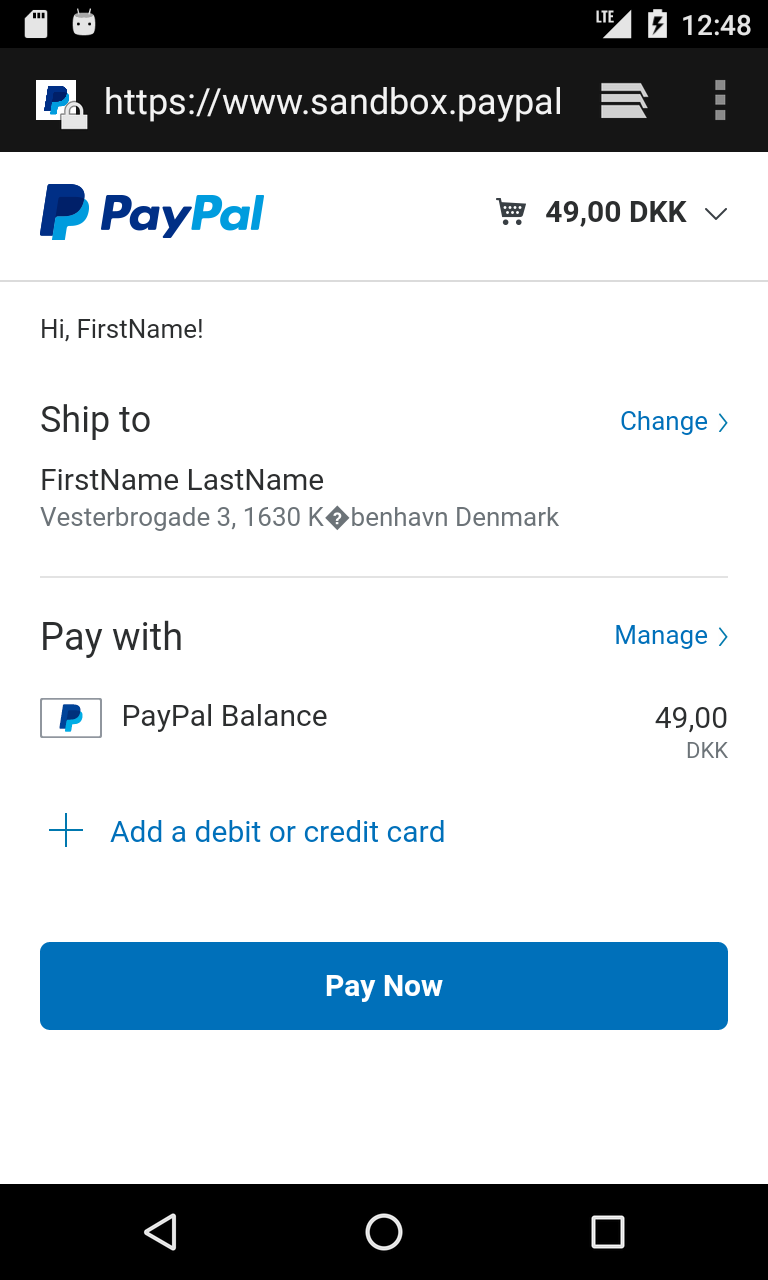 .
A confirmation message will inform that transaction is
complete.
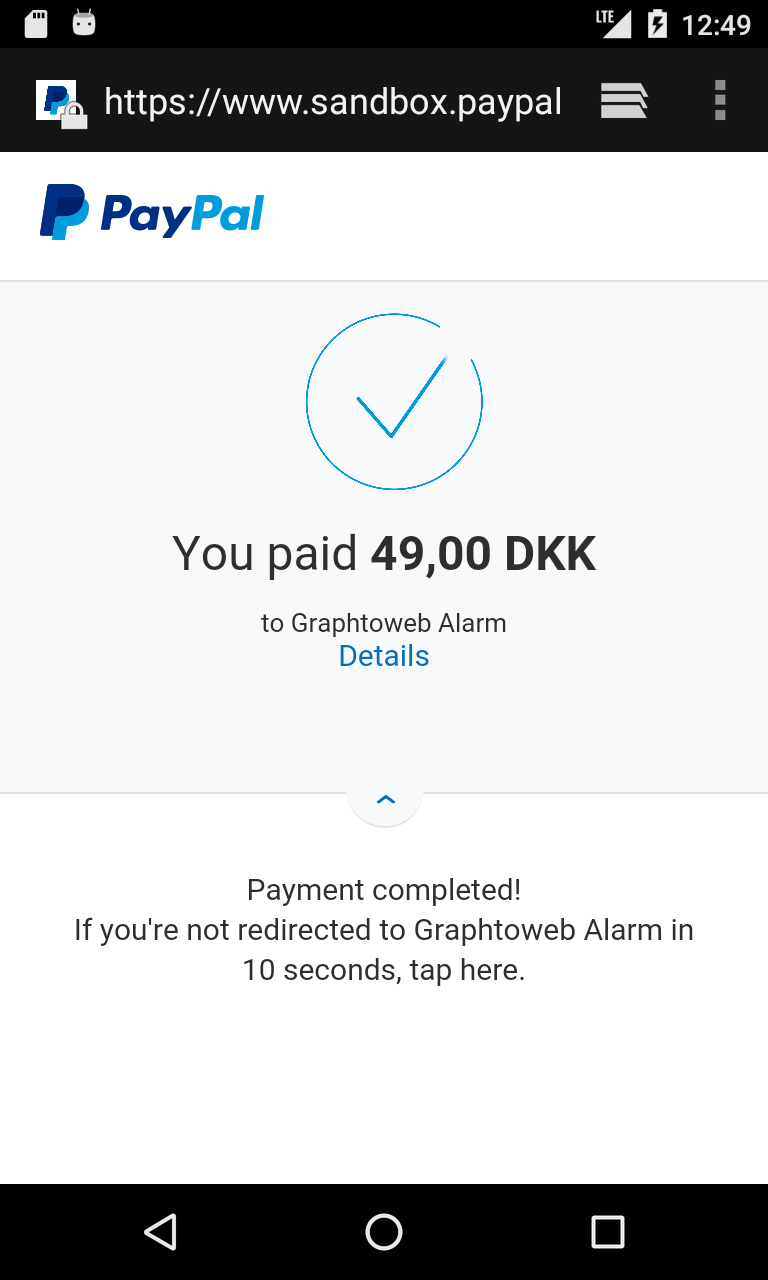
Then Paypal is coming back to the AlarmM
application backend website
 where a License key will be delivered. It may be nescessary to refresh the page several time before the
license
 appears.
The License key should be remembered or
copy
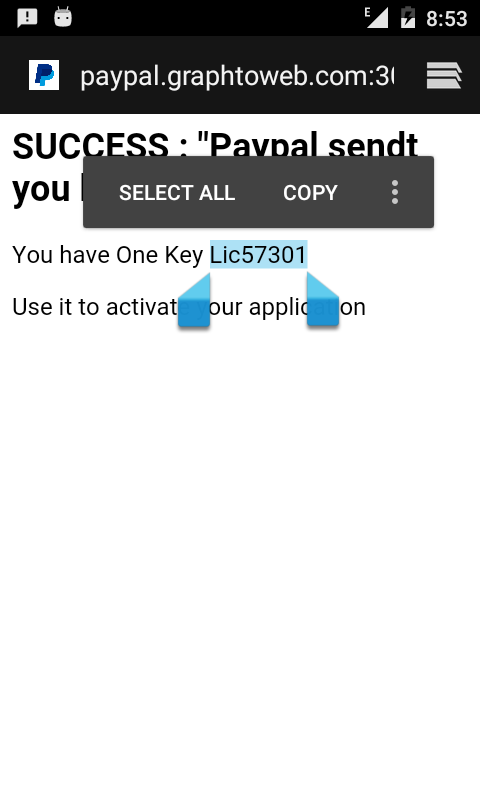 in the clipboard.
Then the browser can be
closed
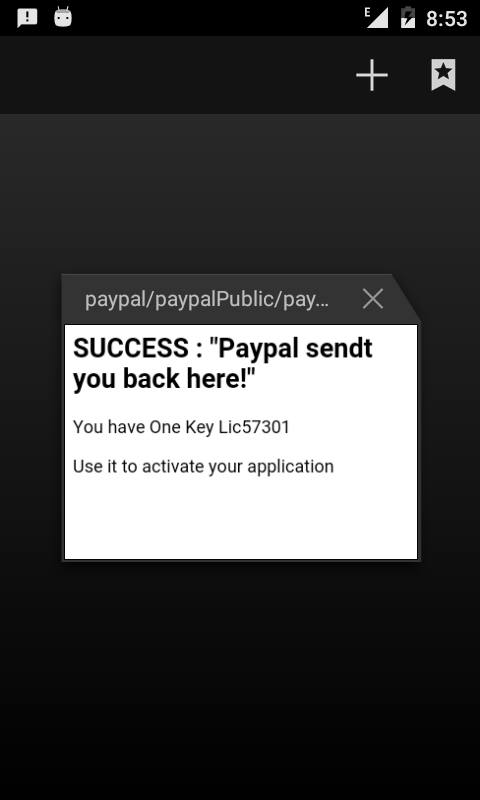 .
.
10.2 Register
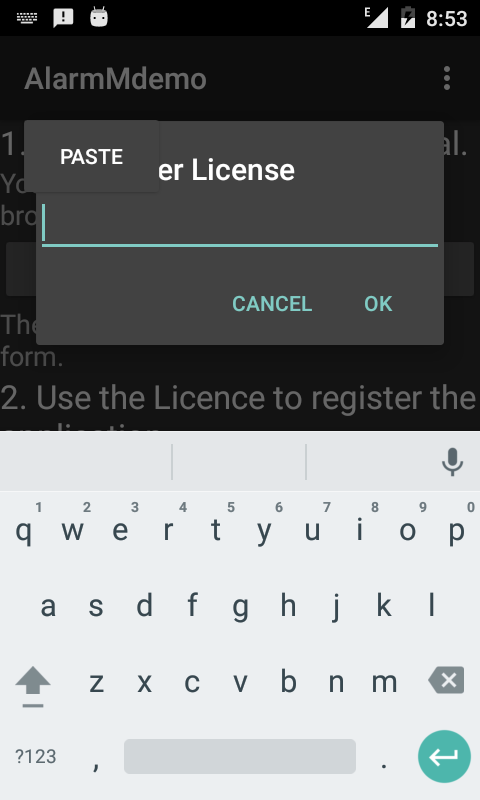
This button is used to activate a valid license. A valid license will grant for a 365 days period. The license can only used one time.
An invalid or empty or empty key will give a maximum of two hours.
In the dialog box the previously acquired license key should be
written
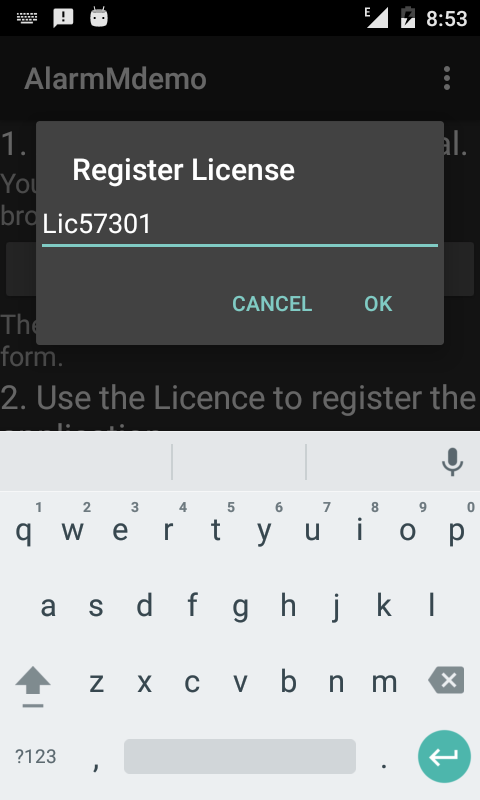 .
Once the key is
successfully
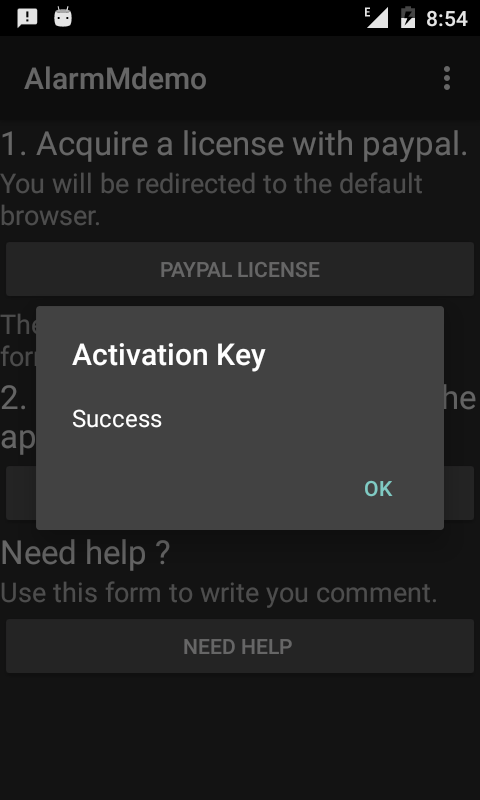 activated the application return to the main screen layout and
validity period
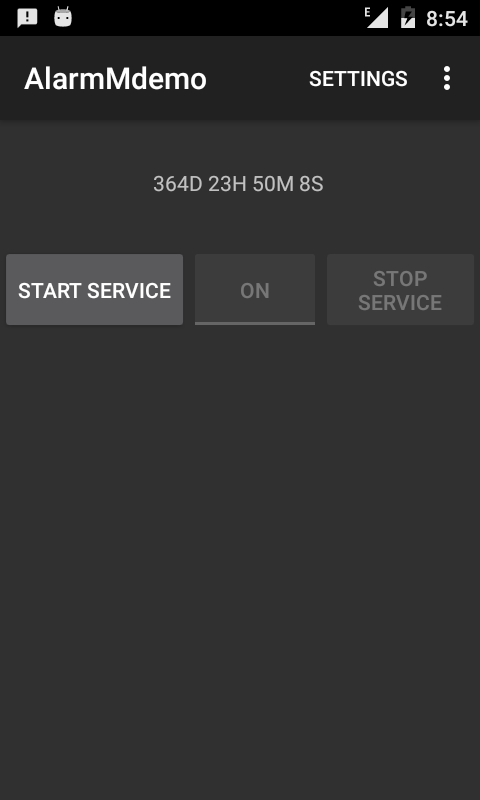 is updated.
10.3 Need help
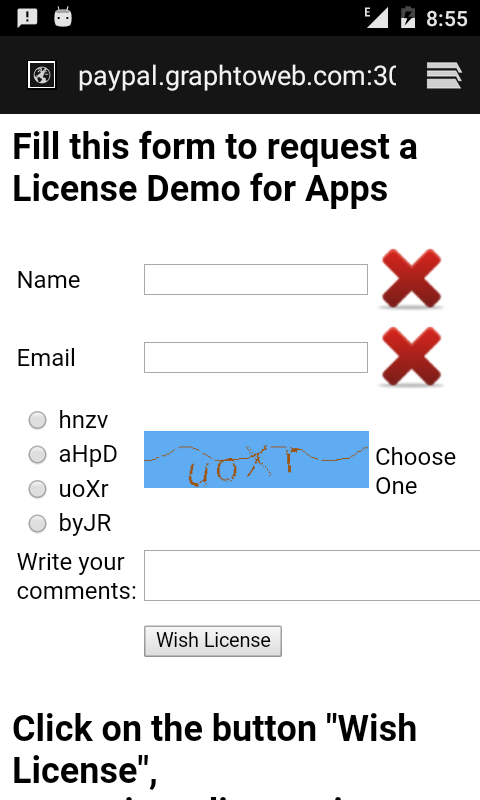
This button will redirect to formular on an external browser. The support will use the provided information to reply to your request. The following field are need :
- Name
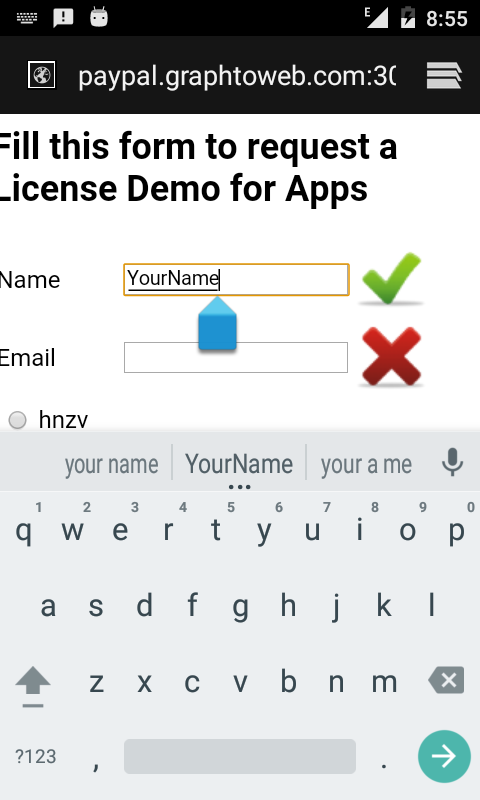
This name must be new for every request.
- Email
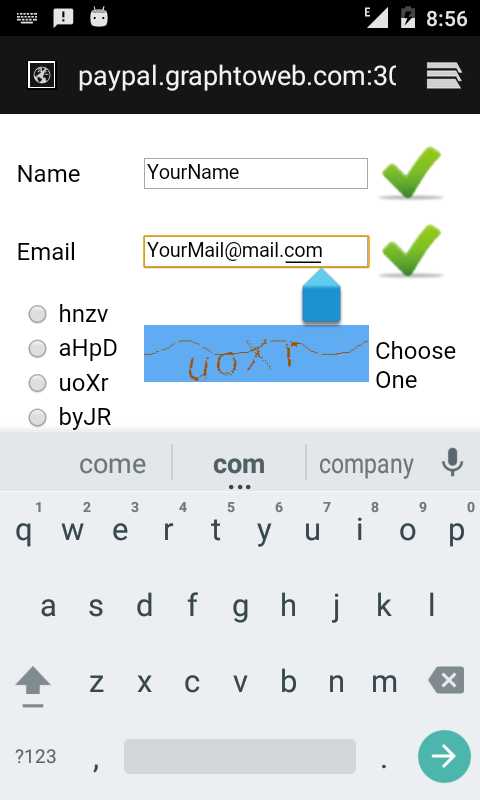
This mail will be used for communication.
- Captcha
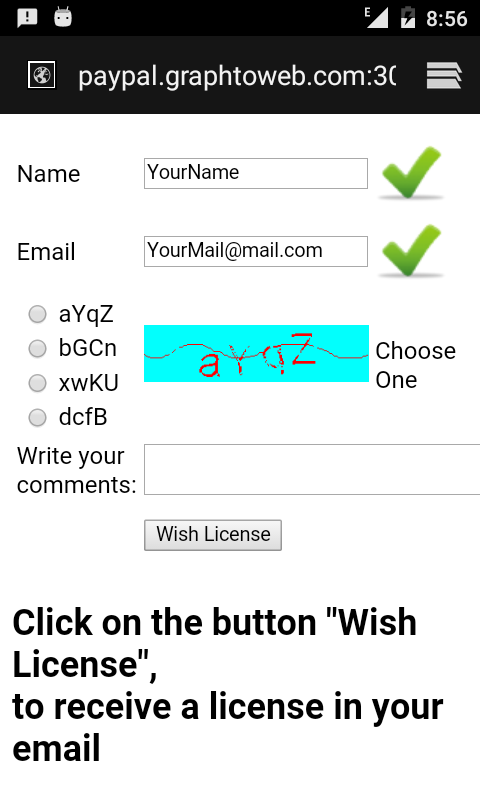
A colour image is showing 4 letters combinaison. On the left of the image four radio button are displaying different combinaison. Check
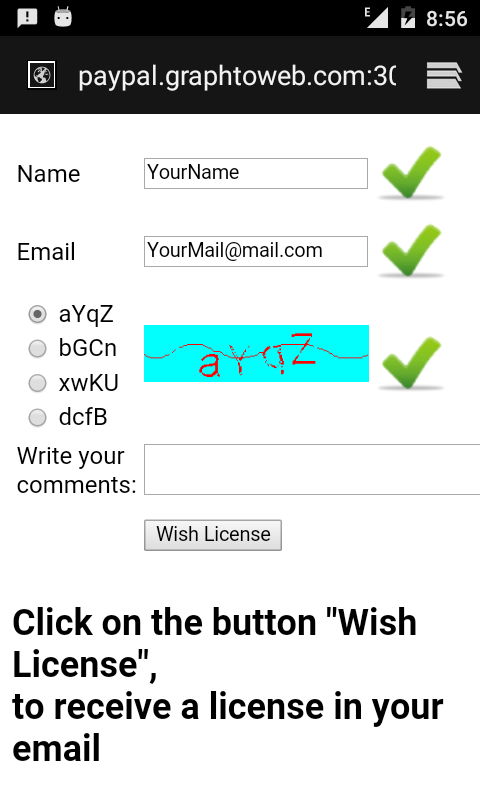 the radio button wich has the same letters than the images.
- Write your comments
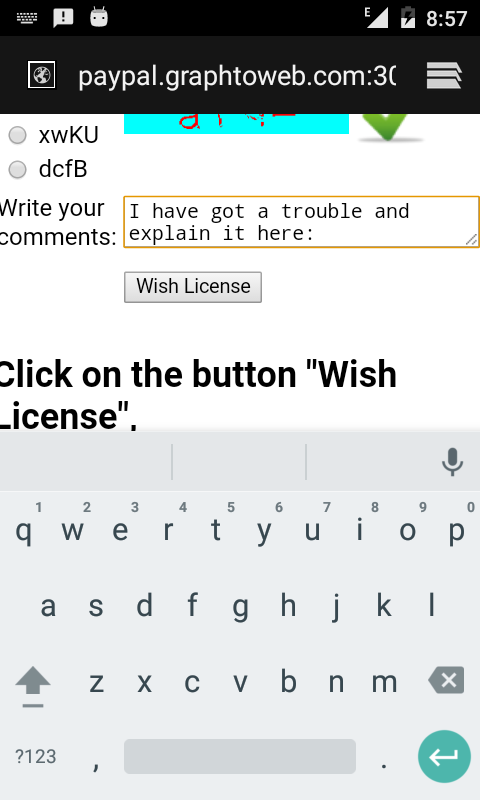 Texte field to describe the reason of the request.
Once all the fields are valid with a
green check
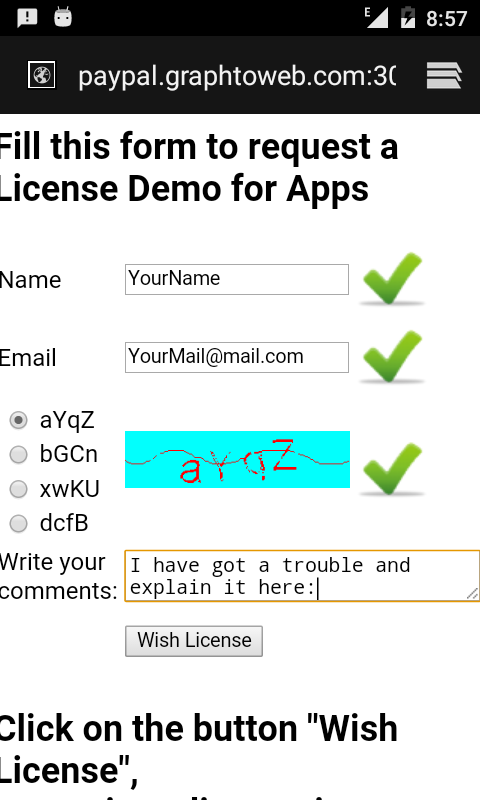 the button "Wish License"may be clicked. Then the page is
submited
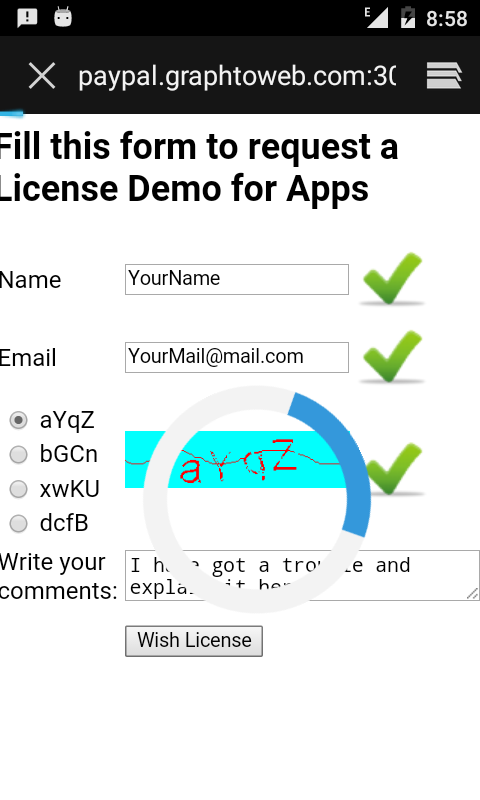 to the AlarmM backend website. And a
confirmation
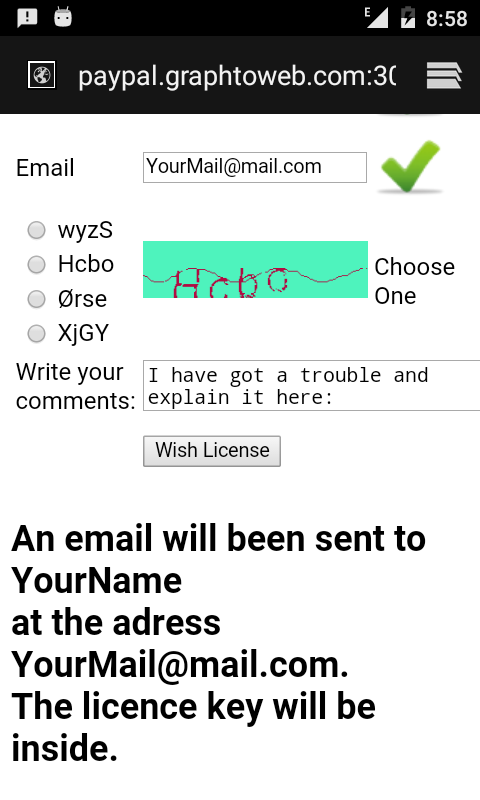 message is displayed on the screen.

11. Supported device
All the devices are configured in only one place. The path to this configuration page is simply "SETTINGS" ==> "ADD REST". An unlimitted number of device can be configured. The order of device can be changed in the list. Only active device with button "ON" selected will be monitored by the alarmM application.

11.1 Embedded
Embedded devices in the "dlink E" brand is no more needed in the AlarmM application and has been superseded by the REST and JSON configuration. Anyway the two following devices are still available.
DCS-2130
In monitor view icon are number from left (0) to right(3)
- 0
User Output
- 1
Event Output
- 2
Input
- 3
Motion dectection
DCS-2210
- 0
User Output
- 1
Event Output
- 2
Input
- 3
Video Motion or PIR
11.2 JSON and REST protocol
This is a very convenient way of configuring the devices because available device will appear directly in the drop down menu "Model". Only a few parameters such as IP address and credentials need to be filled.
Moxa
Go to the example pageAdvantech
Go to the example pageControlByWeb
Go to the example pageDLink
Eko
Go to the example pageNetio
Go to the example pageSollae
Go to the example pageTinyControl
Go to the example pageBrick
Go to the example page...

11.3 Modbus TCP

The alarmM application can read and write standard Modbus TCP devices. From the Settings page the ADD REST menu option can define a new modbus device. All the complexity of Modbus TCP is completly hidden to the user. The IP address is the only parameter needed beforme making an Automatic Discovery. A brand called "Modbus TCP" is selected in order to configure a modbus device.

The alarmM application is supported up to 247 different modbus station (gateway). When a single modbus device is behind an IP adress the Model dropdown menu has no effect and can be letf to 000.

A unique name should be associated with this device! This name will appear on the devices main list and will be the title in the monitor view.

The IP adress and port number must be filled. Be aware that modbus TCP has no credetials. Remote with Global IP is possible but security precaution has to be taken such as IP filtering. IP filtering is done on the modbus device itselft.

The AlarmM modbus module is supporting 16 bits and 32 bits register. This choice is unique for the current configuation device. Should a modbus device have both 32 and 16 bits value then two or more configuration can be setup.
The alarmM will find automatically all the continious Coil Outputs, Digital inputs, holdings register and Analog inputs. If a device has a discontinious IO range then separate devices must be defined with the same IP address.

Advance user can define the memory area to search in the modbus device. For every I/O category it is possible to set up the initial memory offset and the maximum number of I/O.
Click on the link modbus to see an exemple of modbus application.

11.4 ONVIF
ONVIF is the nice to have standard for Camera. The alarmM application will discover and configure automatically all the ONVIF devices on the local network at home. The process of configuration is easilly done with the following steps:

Automatically add to device list
AlarmM will scan all the local network to find the compatible ONVIF devices. The compatible ONVIF device will be add at the end of the devices list. The name of the new device will be followed by a question mark (?). This is meaning that the device need to be edited and automatically configured.

Automatically features configuration

New ONVIF device has to be edited one by one. In the configuration page everythings will be prefilled except the credentials. The name of the camera can be changed. When the credentials has been correctly enter, a press on the button save will query all the features of the ONVIF device.

Select features to use as IO
The alarmM will display all the features available at the bottom of the configuration page. The list of features will be different for distinct hardware. Every selected feature will be available by the alarmM application and will be display in the monitor view.

Setup Alarm in monitor view
All the visible IO in the monitor view can now be associated with alarm event.

Use camera image for alert
Camera source can then be used to record image. More information and example can be found on the review page for axis.